Table of Contents
I recently went on a kick of organizing my house, and I deemed a flat filing cabinet a critical piece of organization. Prices for a steel architectural/map cabinet are more than I wanted to spend, so I built a similar-yet-different cabinet for around 200USD.
A Budget Flat Filing Cabinet
The story begins with watching a Lynda.com course on productivity (I think). While geared towards the office, it should apply to the home as well. The beginning was getting organized, both with data and physical objects. As I looked around my various cluttered tables, I realized that I like having a 2-D surface for organizing. Traditional stacking of boxes is prone to losing items, and I quickly identified I want a flat filing cabinet in my life.
A flat filing cabinet, also known as a map cabinet or blueprint cabinet, is typically steel drawers about 2" in height for holding large documents flat. I also rapidly discovered that they are expensive: a new one with five drawers costs above 600USD.
While the design is simple, I was struggling to identify how many drawers I could fit and what materials I would need. I drew the design in Fusion 360, although this does not properly represent the final configuration (I had trouble fitting 10 drawers and now only have 8): https://a360.co/2N196wv
Materials
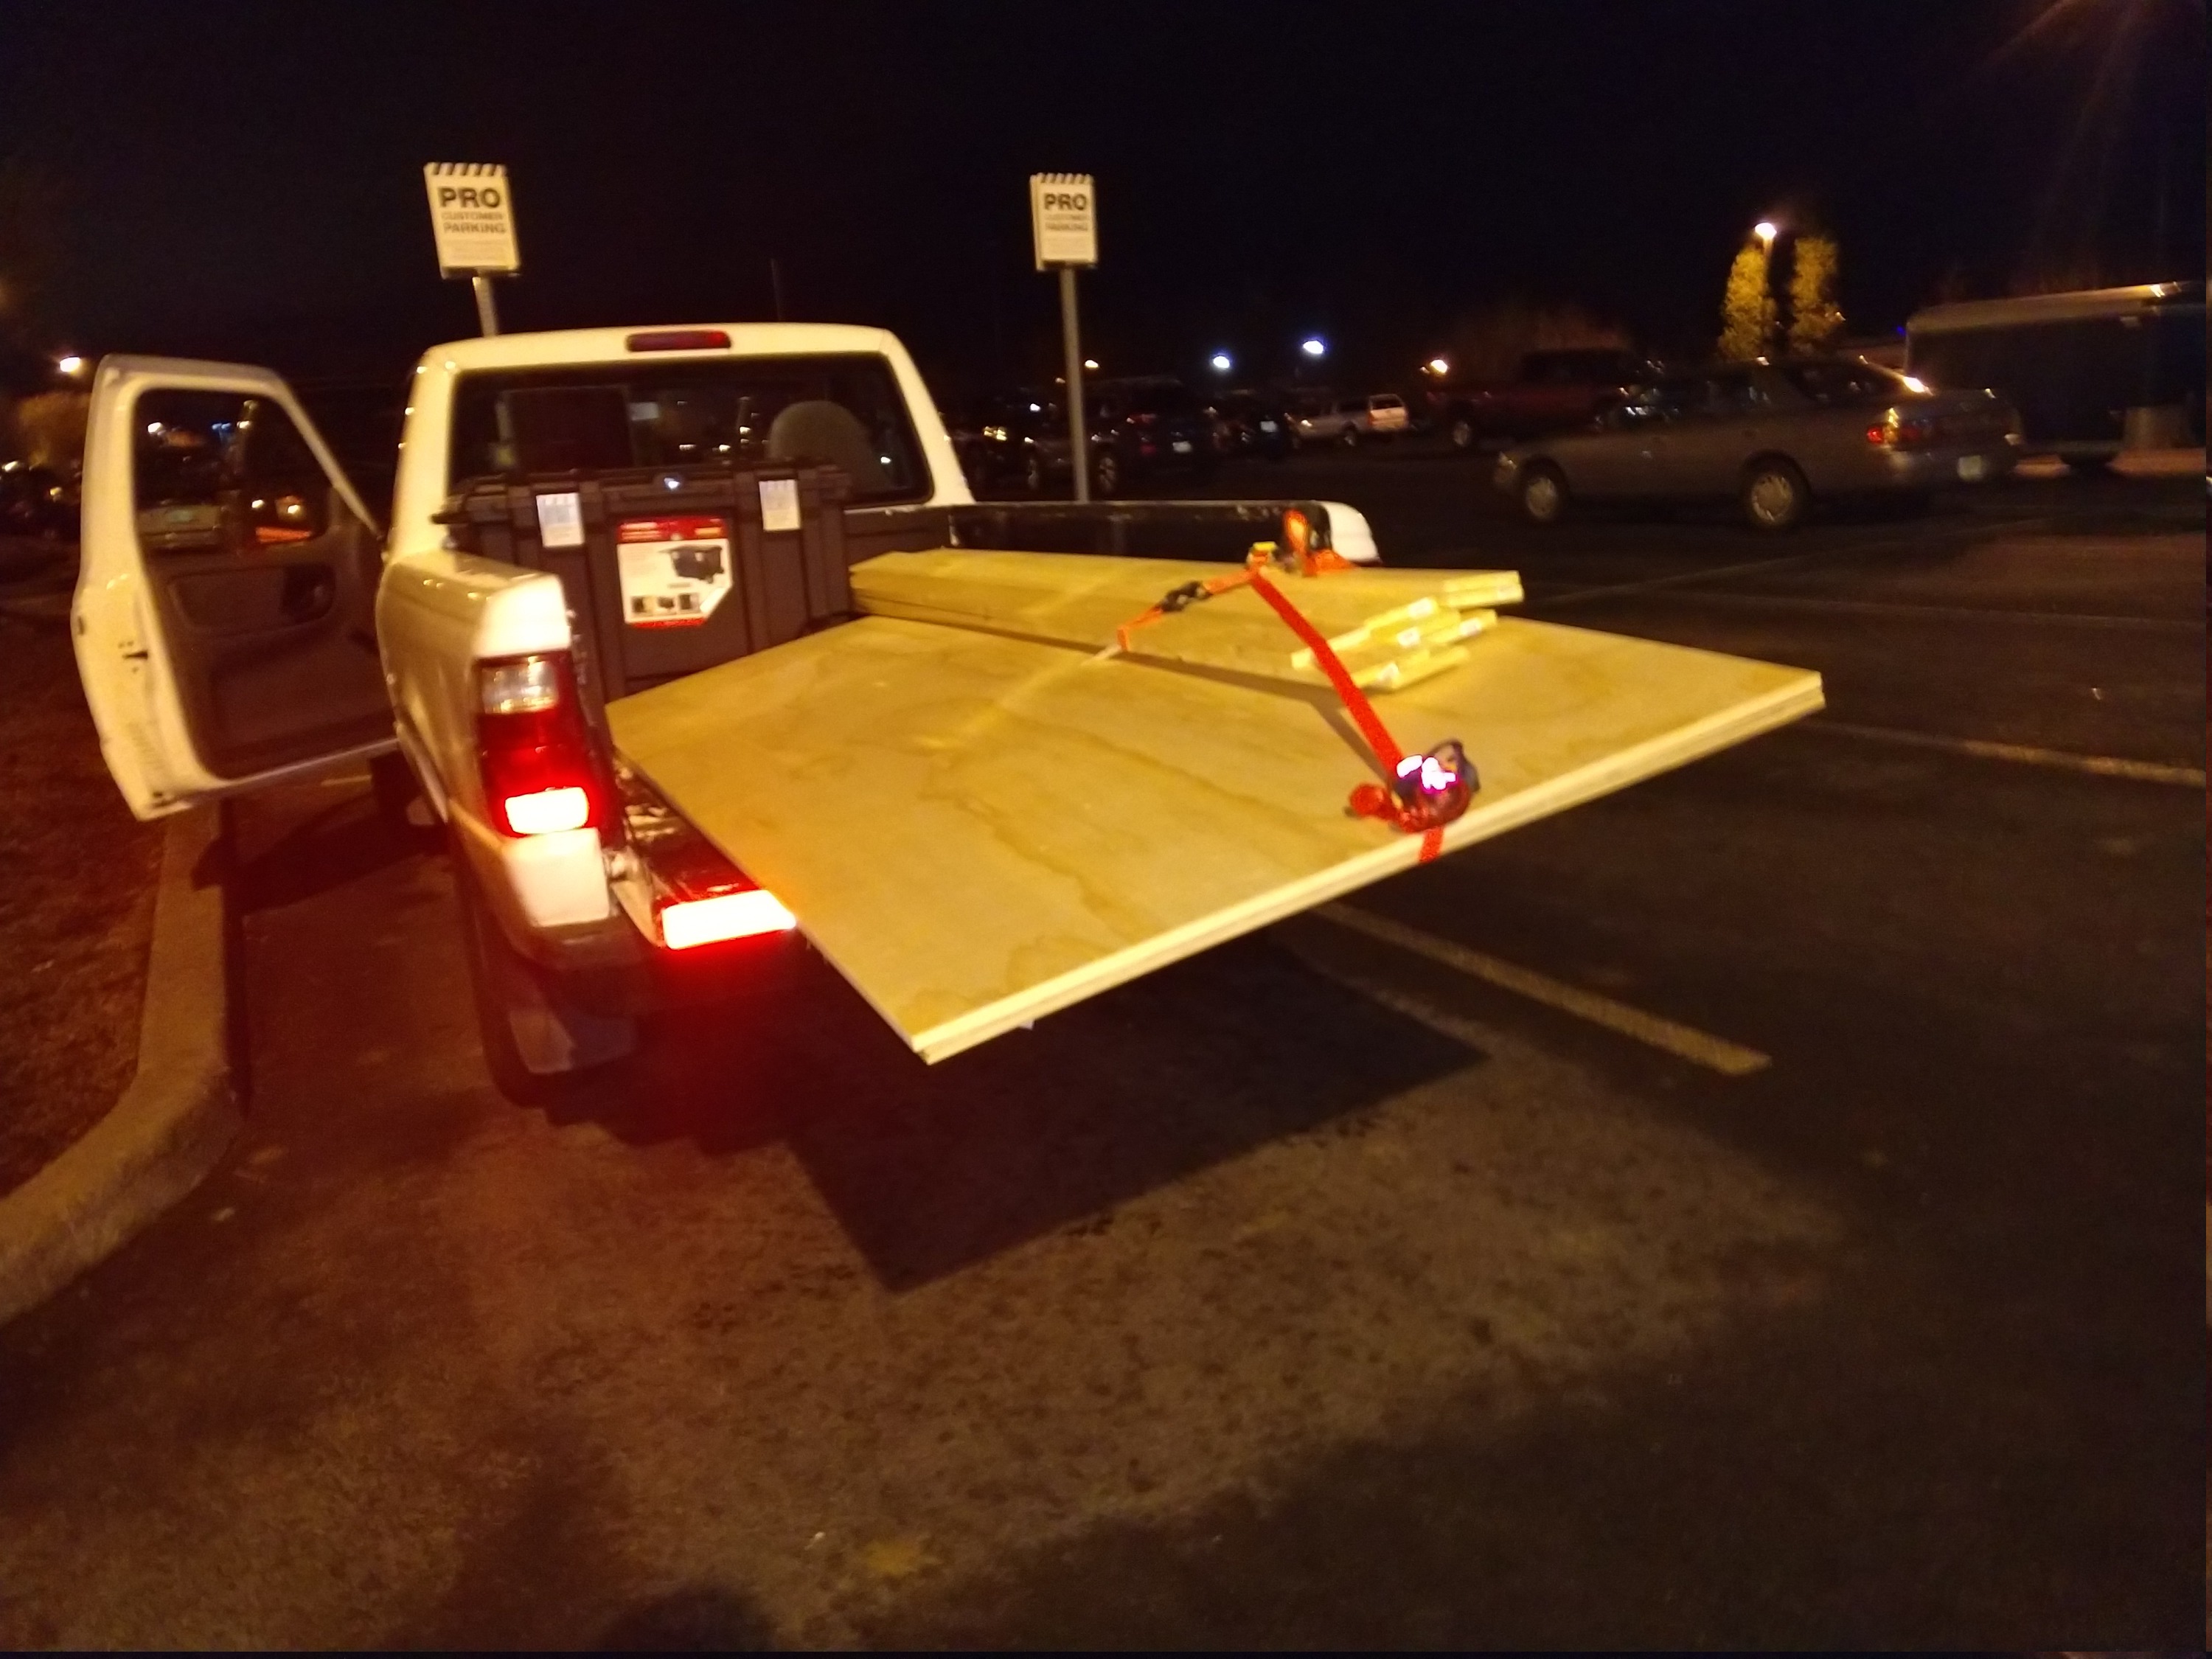
This materials list is updated to my final revision. I revised my materials list at the store based on the selection; I spent 20 minutes wandering through the plywood isle shopping for the best condition/flattest wood that would meet my use case. The underlayment can have some warp as the drawers will hold it straight, but flat sheets of plywood will make the project go much smoother.
- 8x 1x6"-8ft
- 2x 5mm Underlayment
- 2x 23/32" Plywood
- 2x 1/2" Angle Aluminum
Here are the tools, blades, and hardware I used. A table saw would have been a nice addition
- Box of 1" screws (I use star)
- Box of 1/2" screws (no stars in this size)
- 18Ga staples and brad nailer
- 80Gr sand paper and 5" palm sander
- 7-1/4" 40tooth blade and circular saw
- Kreg rip cut
- Kreg pocket jig
- Miter saw with whatever rough cut blade I had
- Lots of clamps including 48" bar clamps
- Wood glue
Outer Box
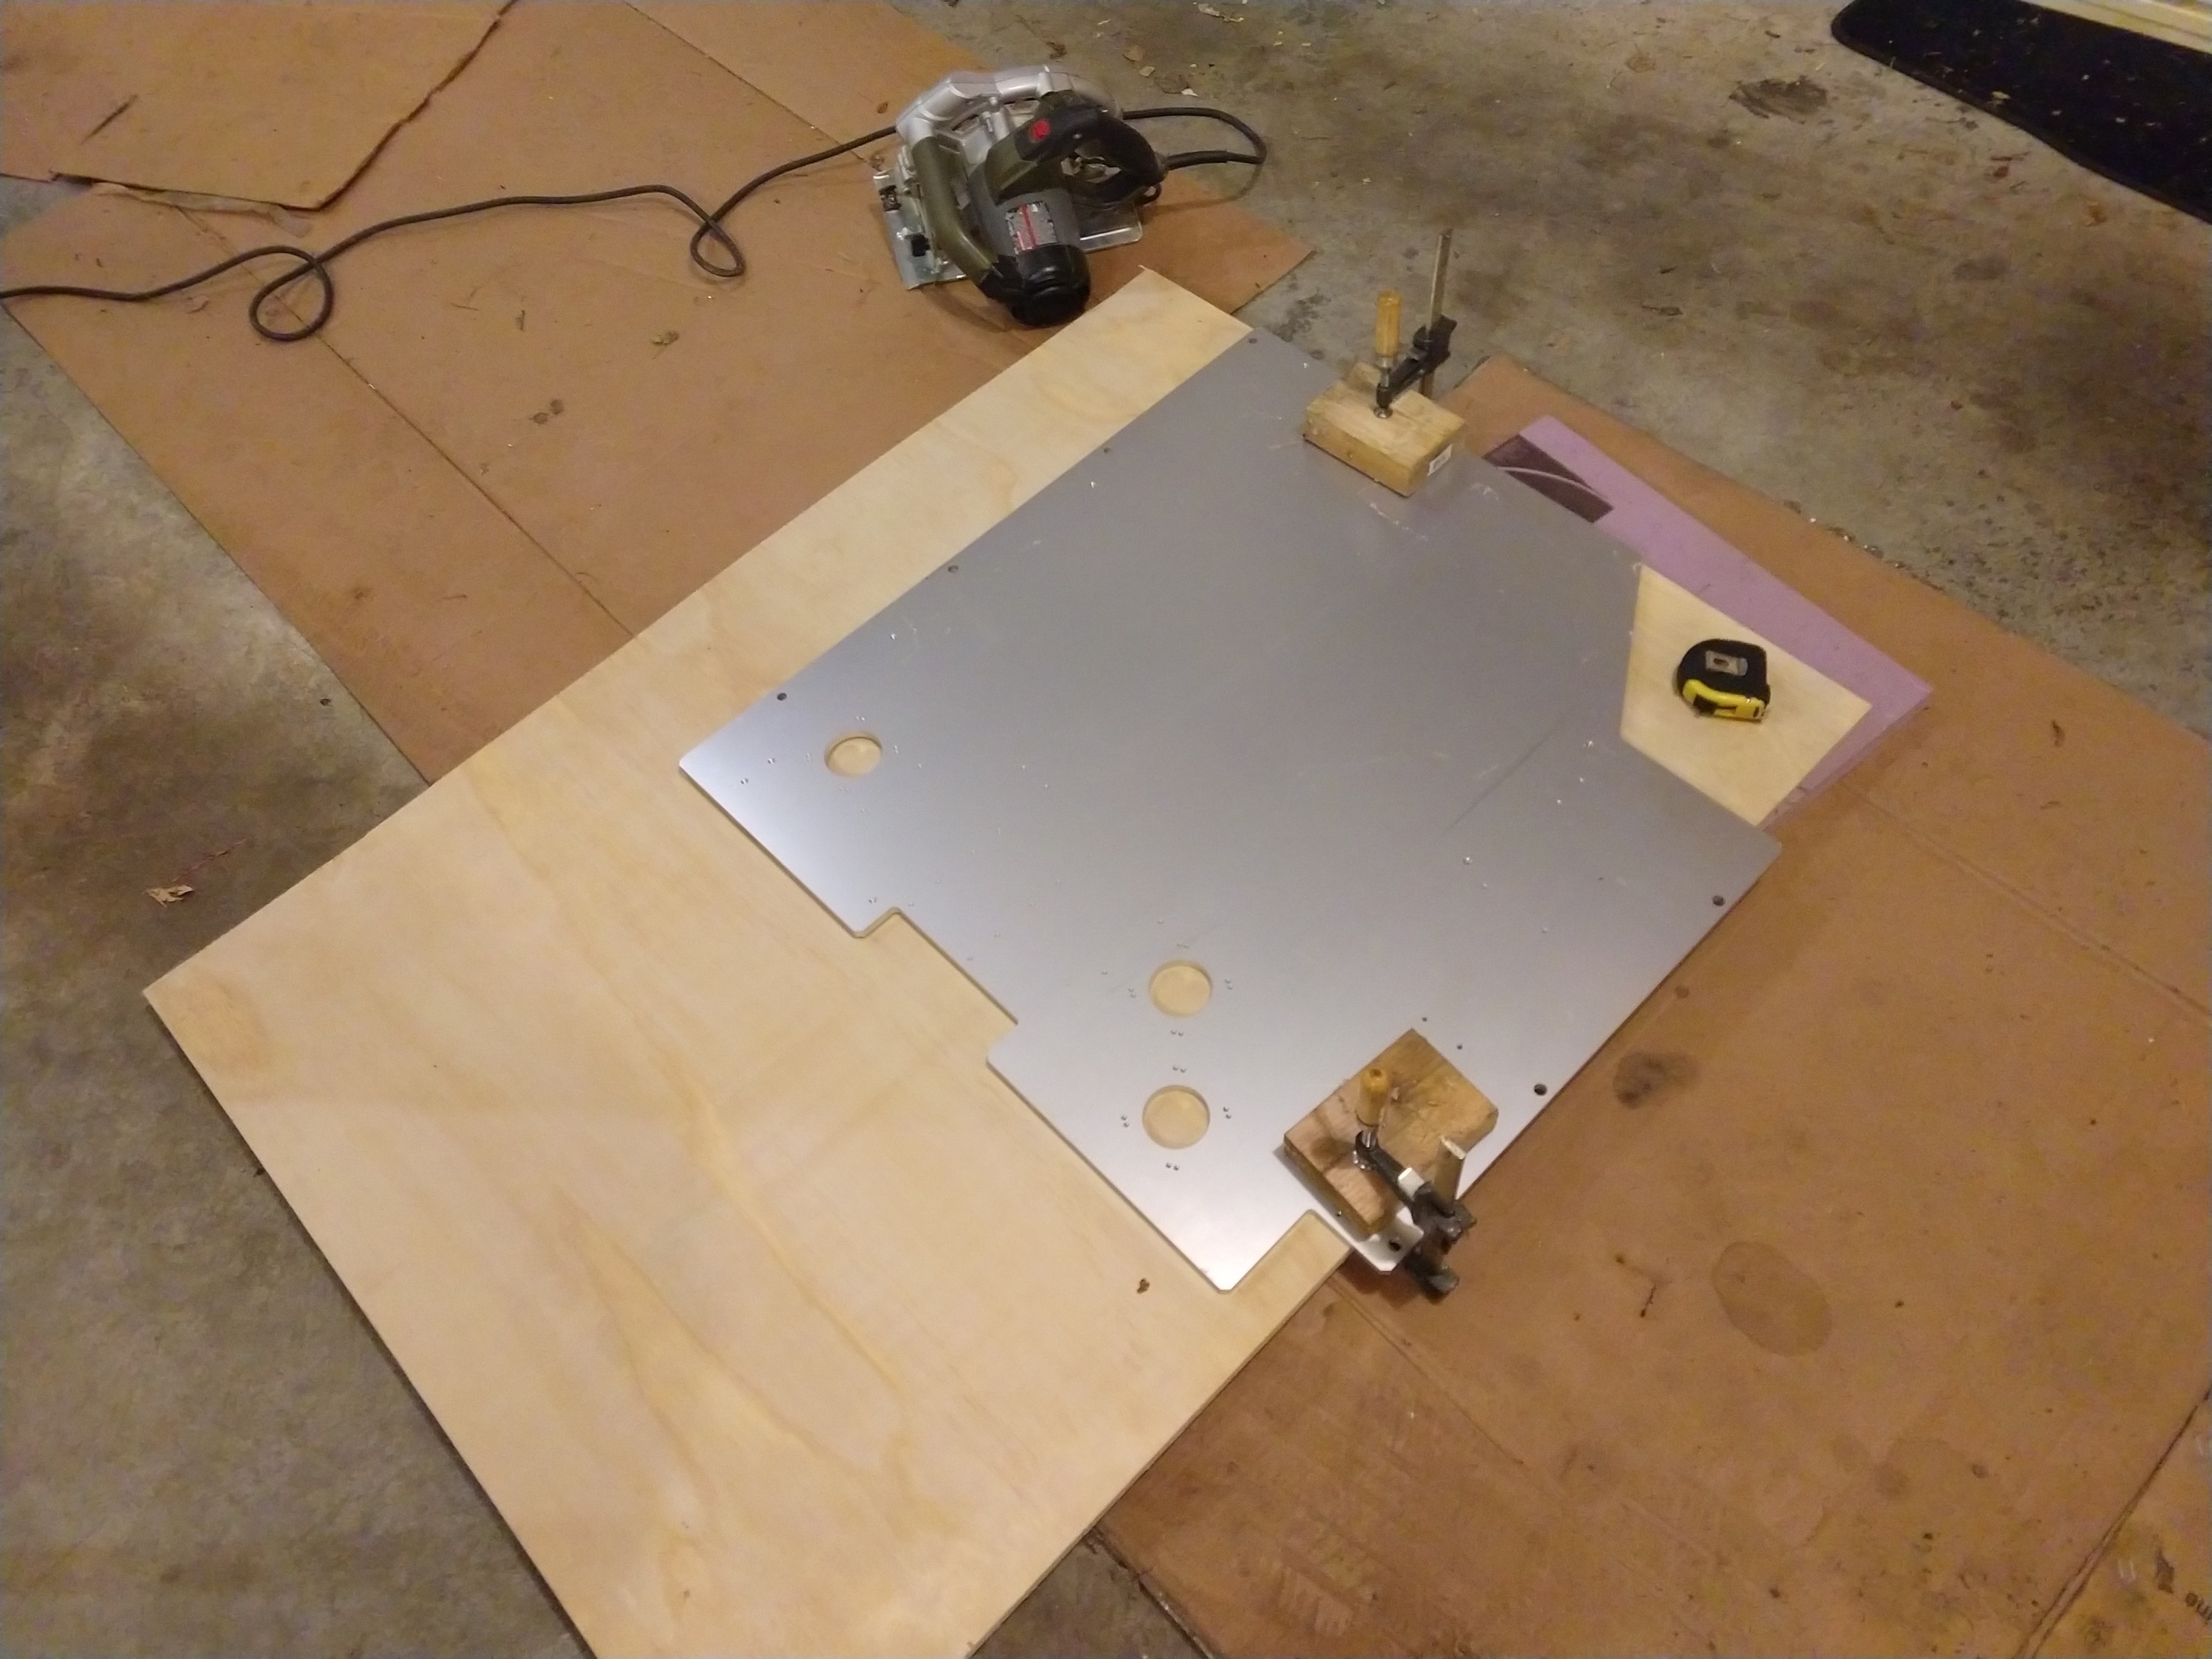
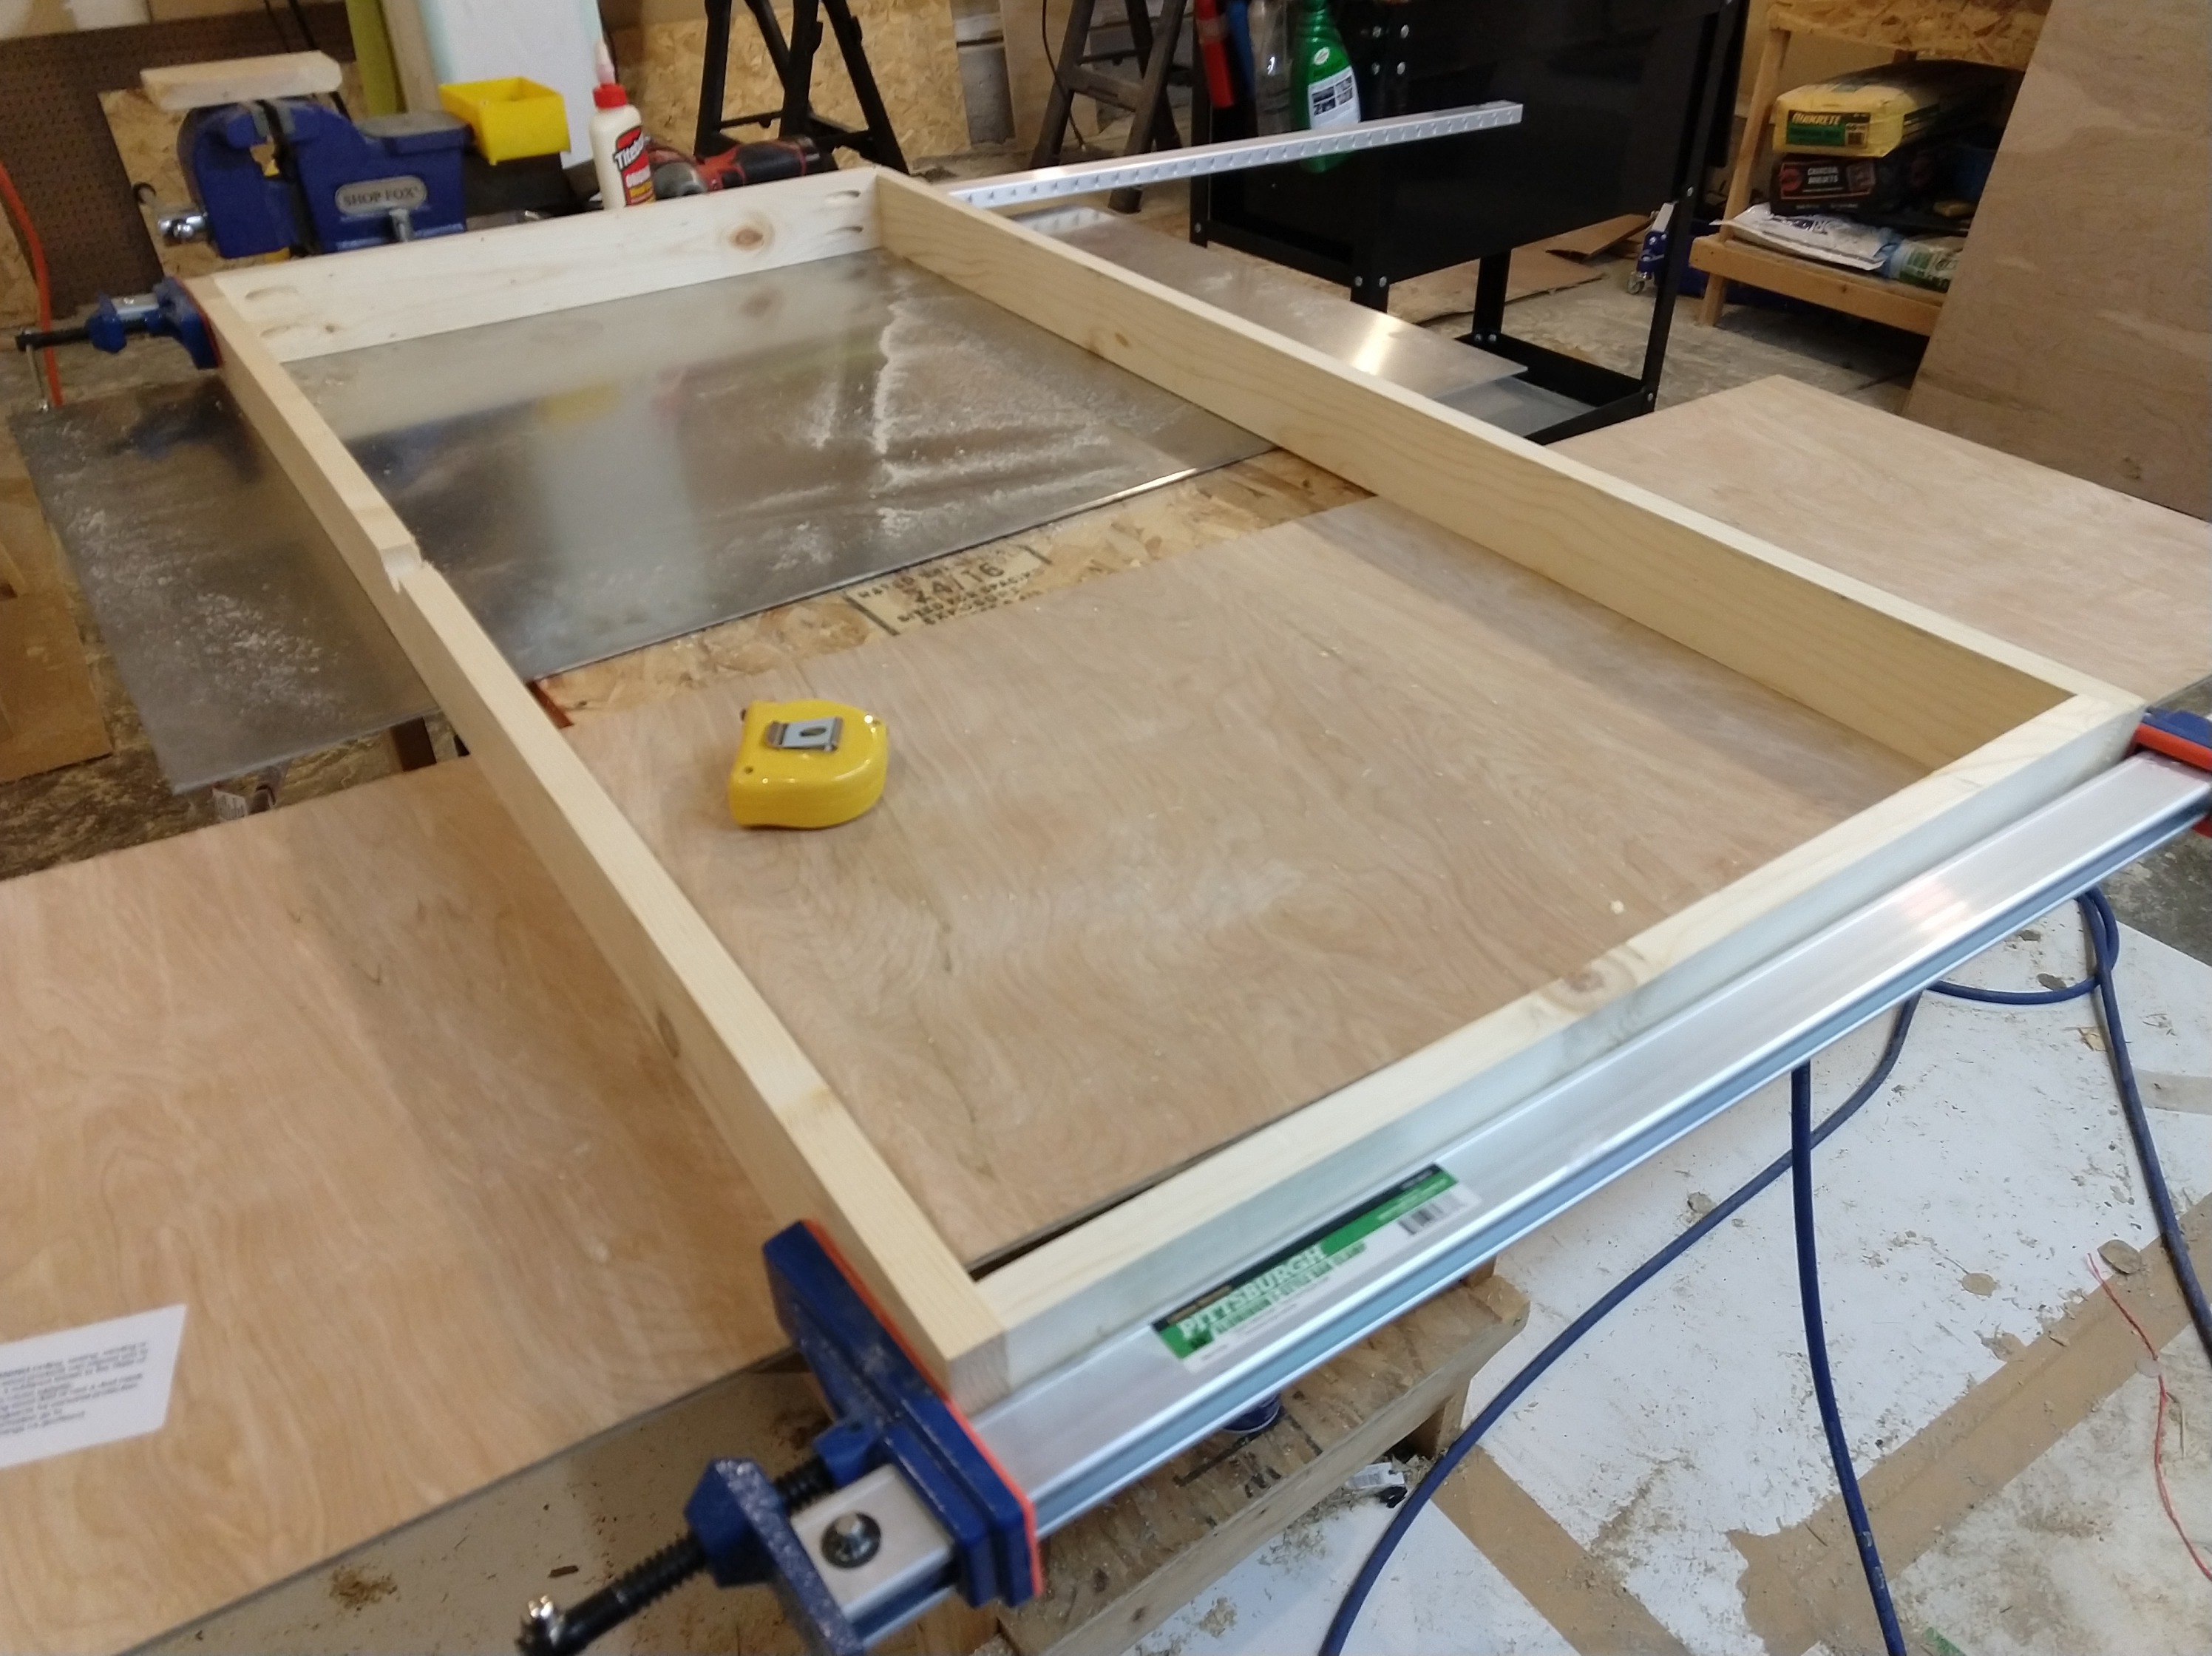
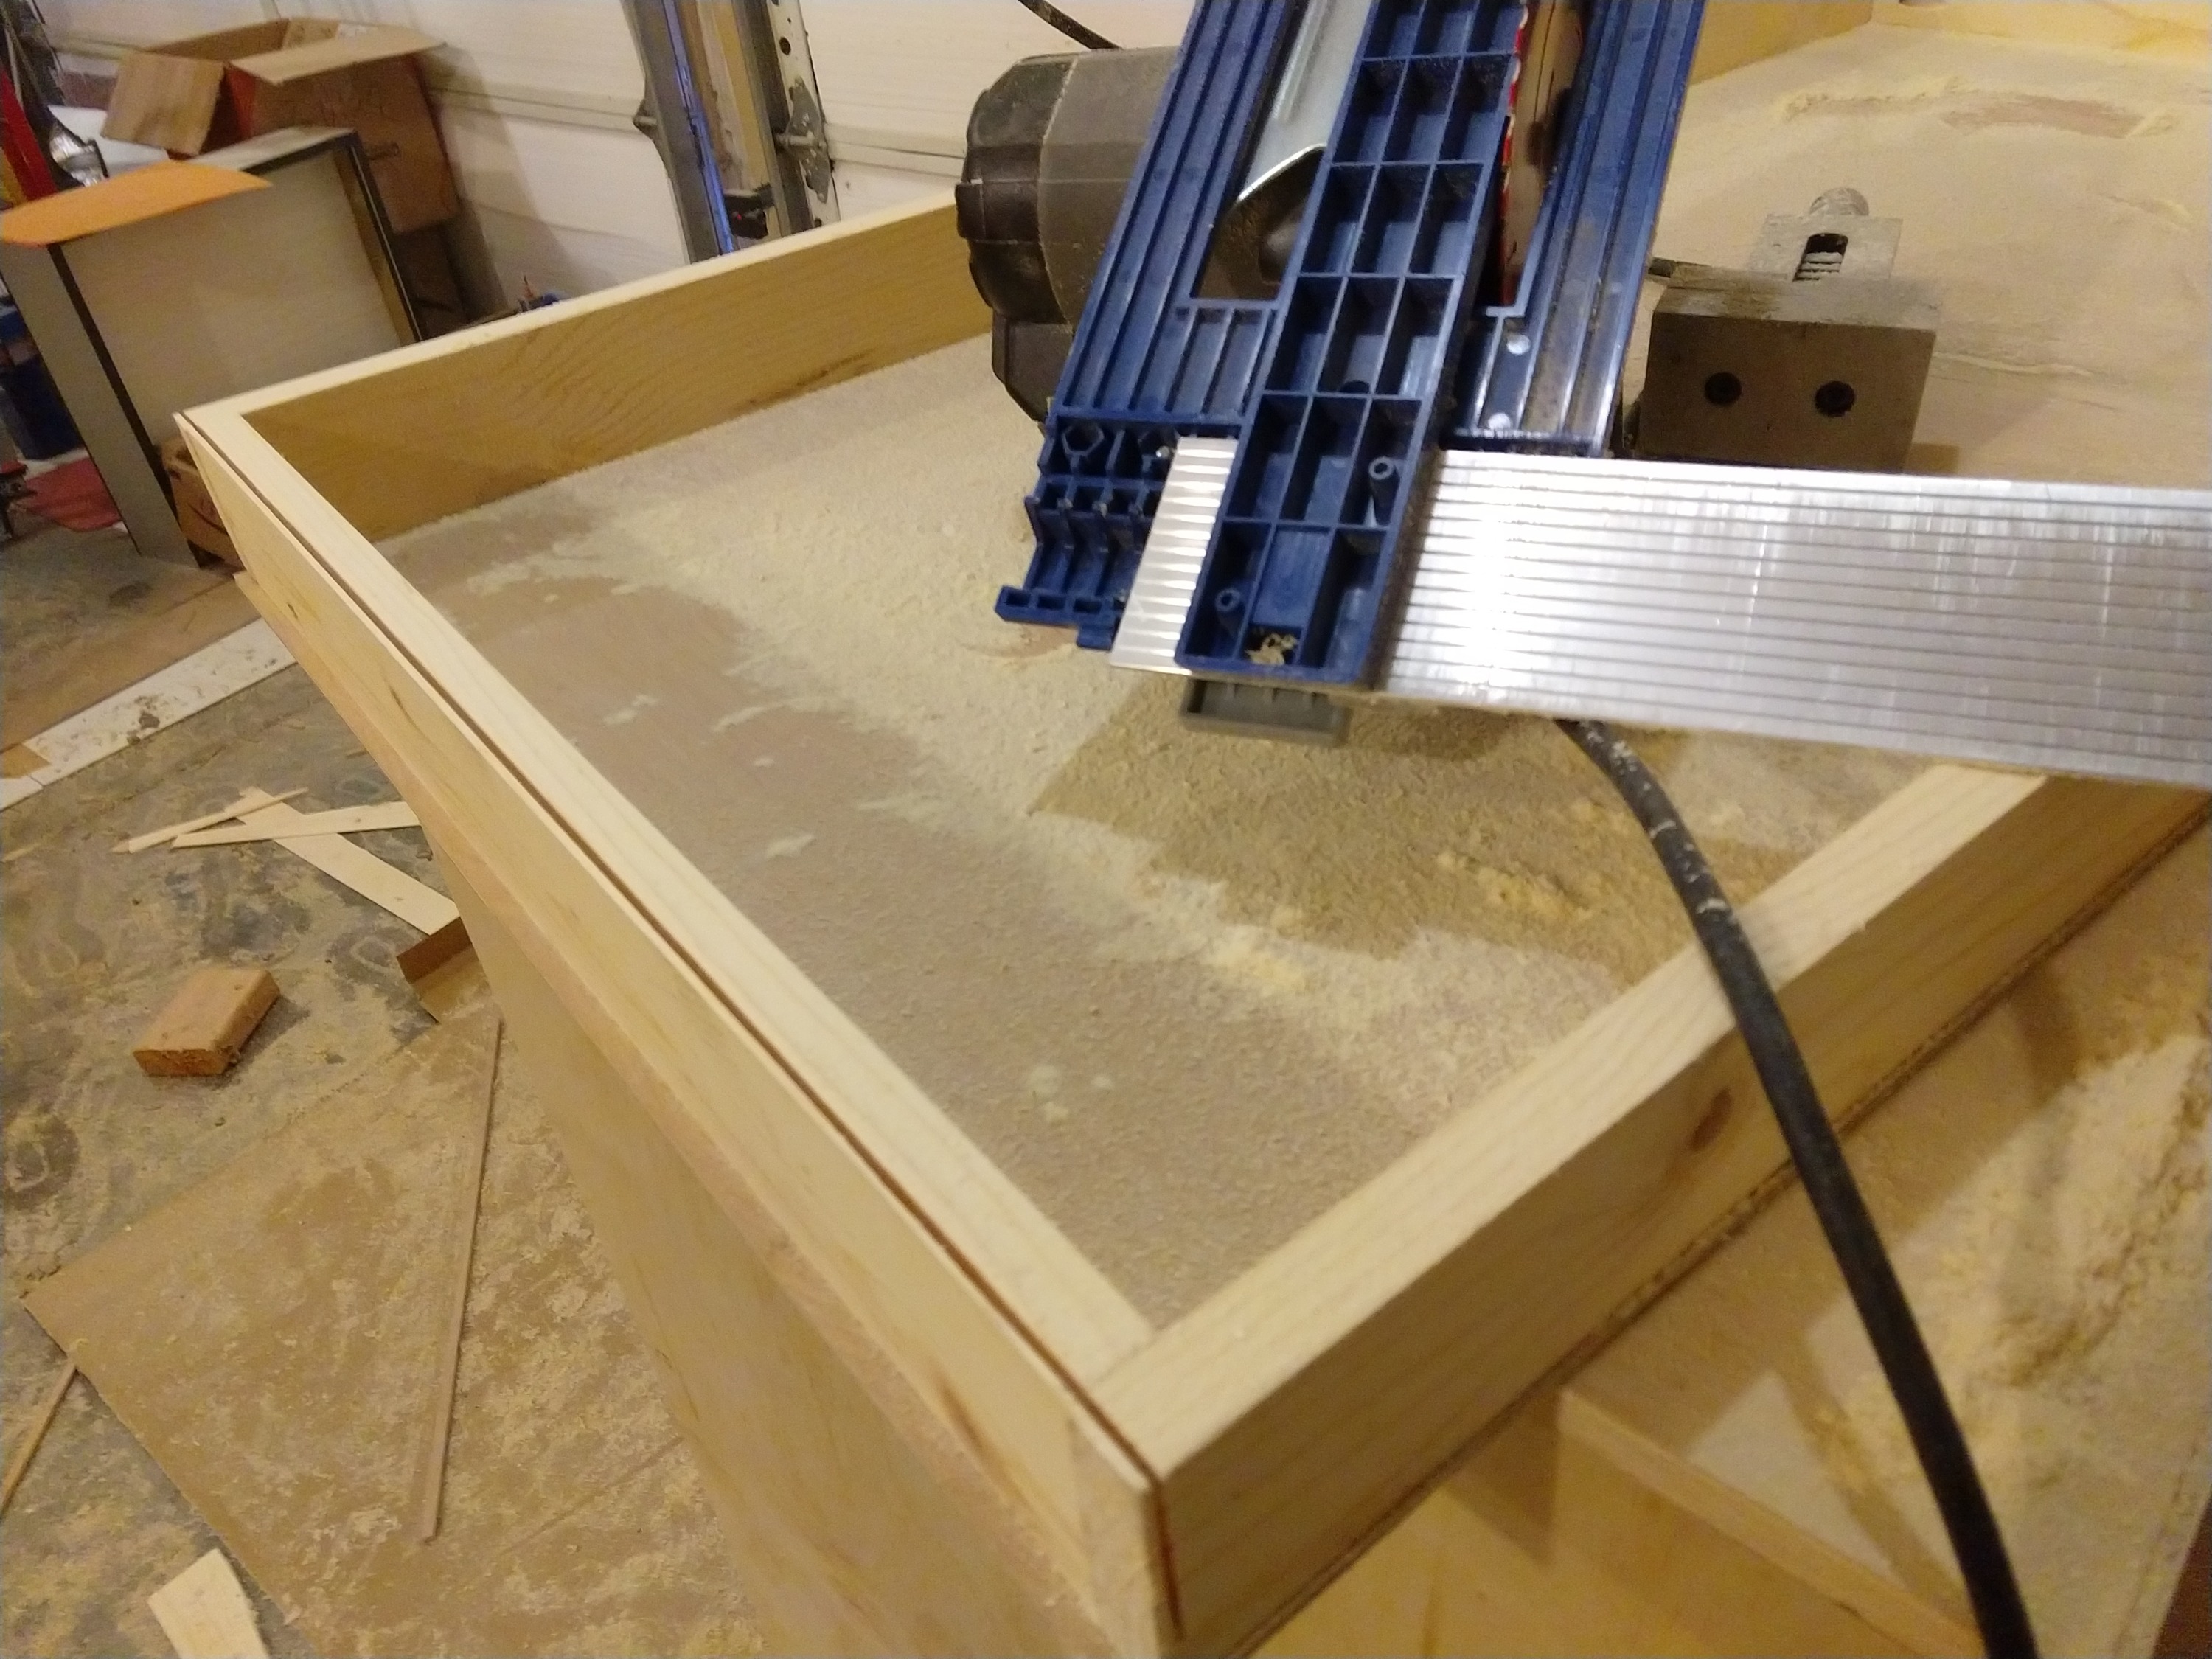
The overall dimensions is 48" wide, 24" deep, 32" tall. All that will remain of the two sheets of plywood is a 16" strip. The initial sizing cuts really would benefit from a table saw or track saw, as the Kreg Rip Cut only goes to 24". In this picture I'm using some aluminum that I consider square to make these large cuts.
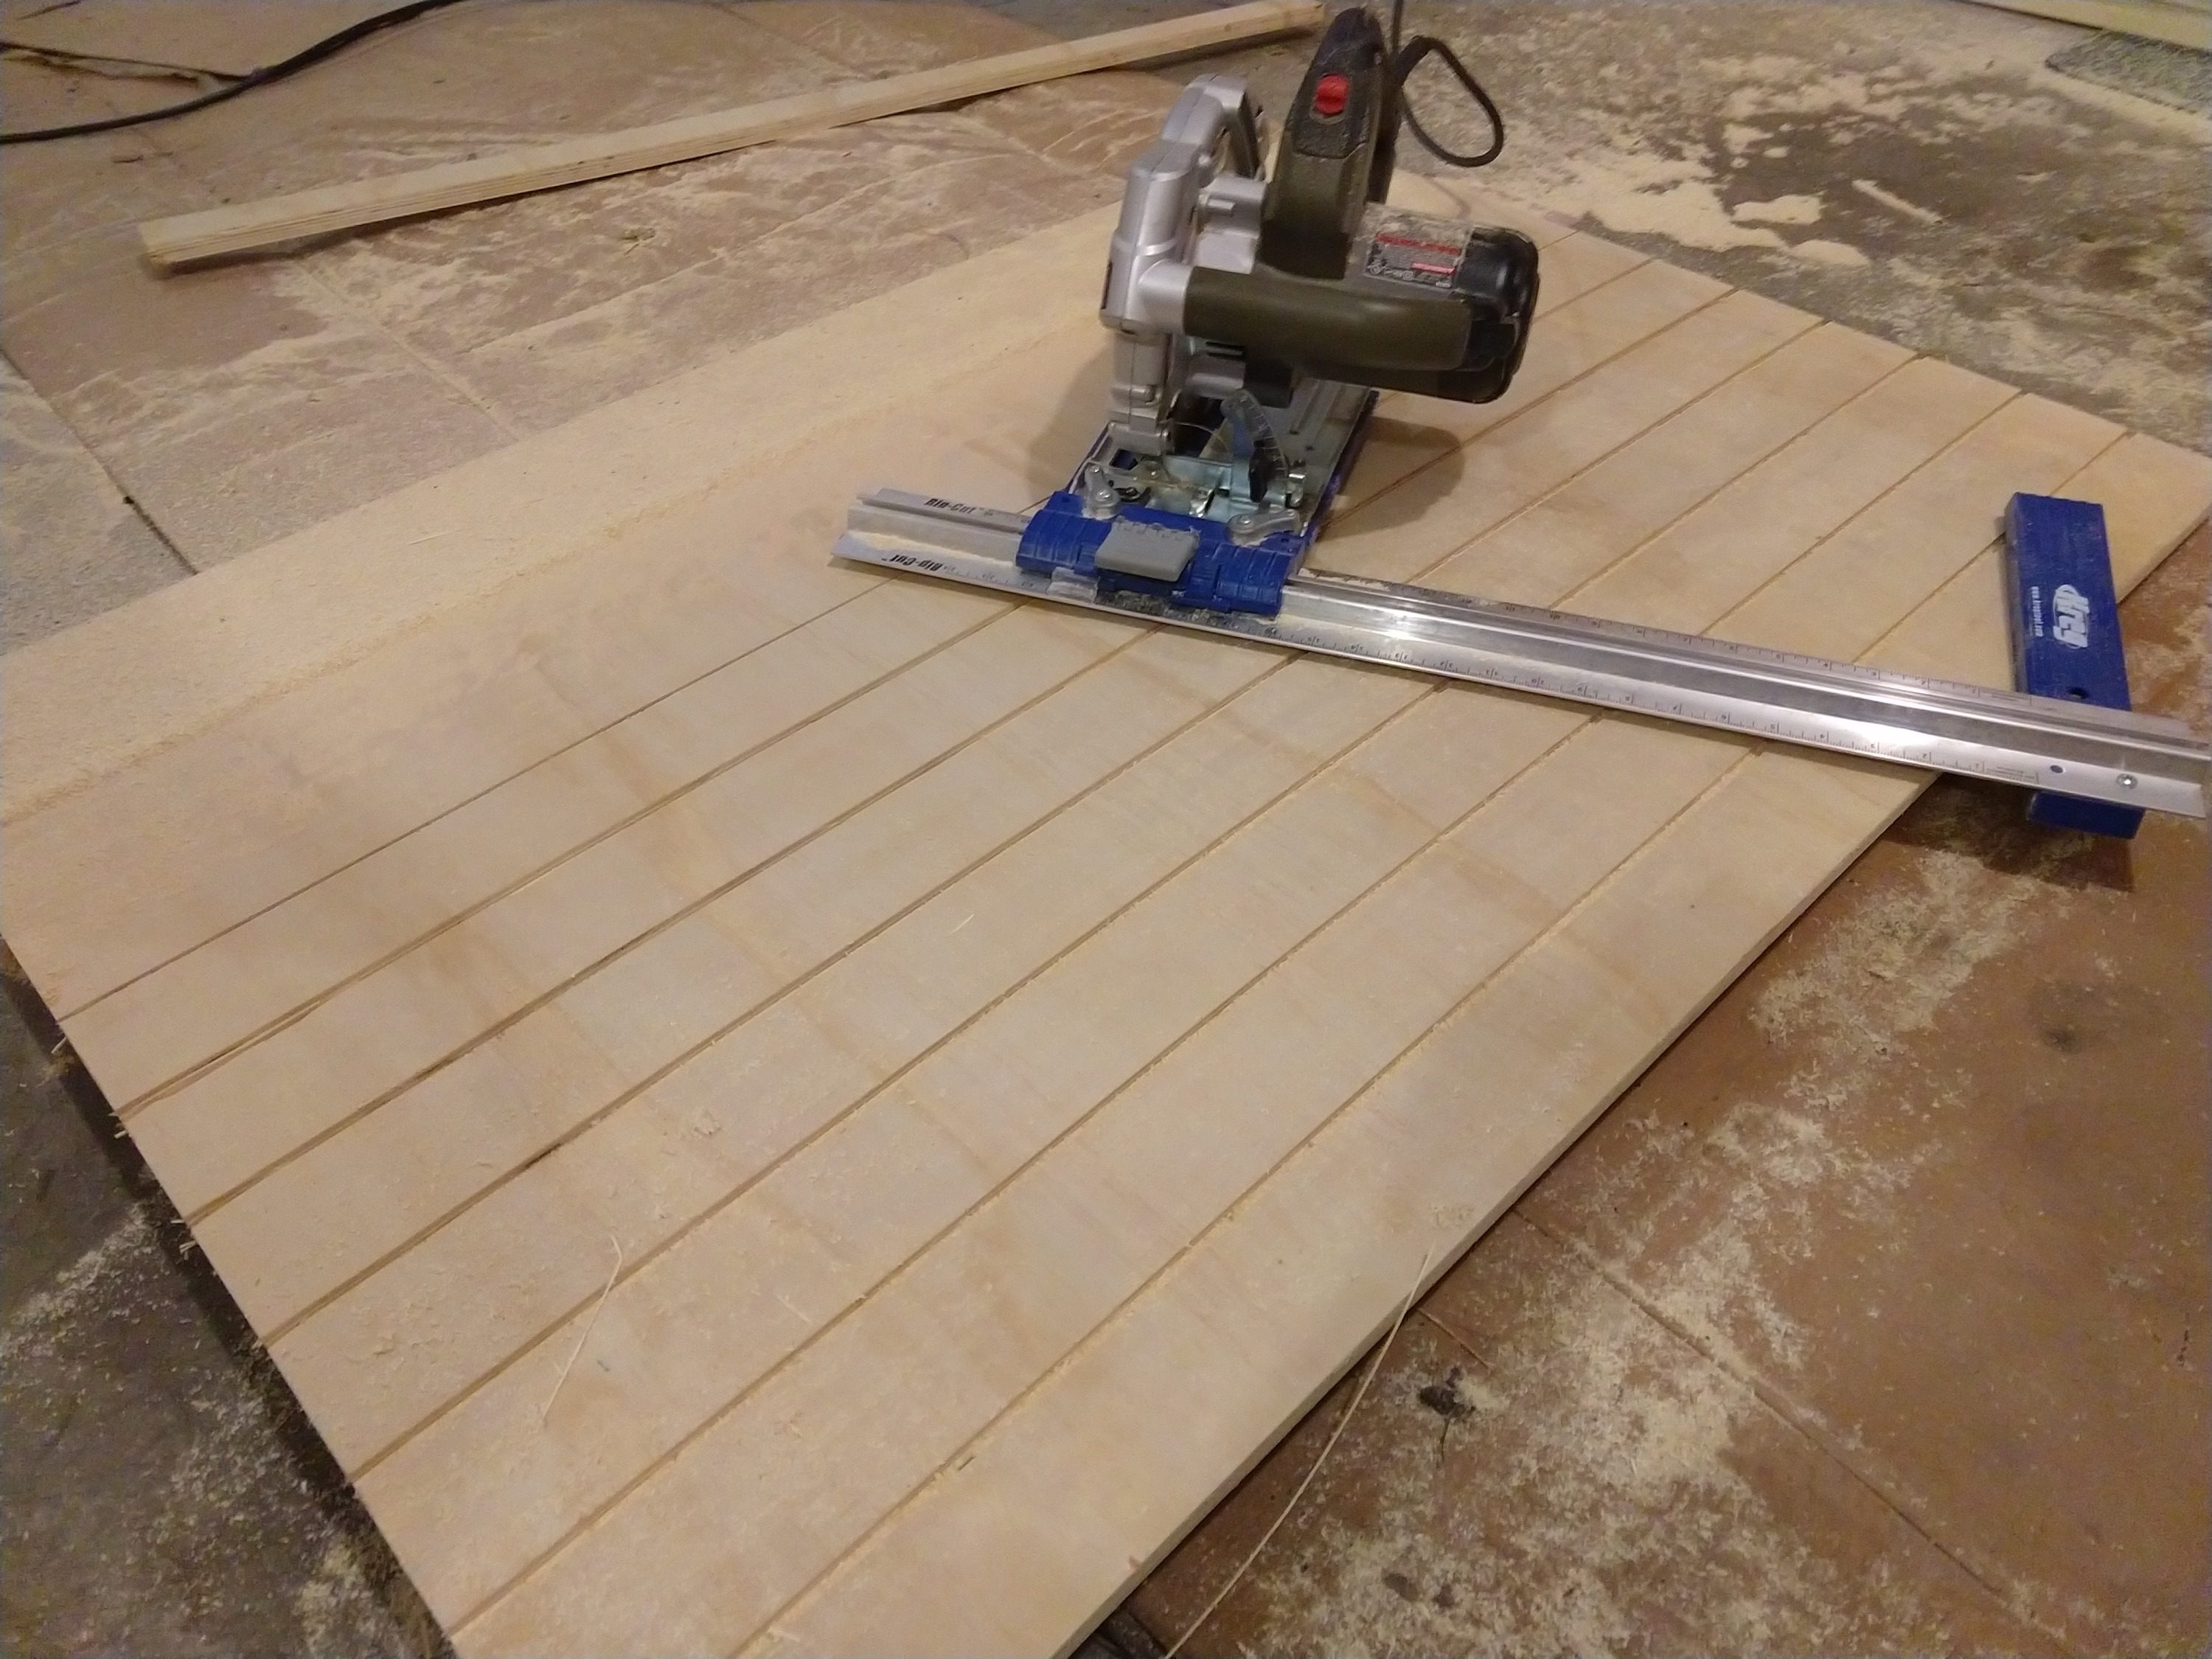
I've left the below picture here to document my original intention for drawer slides: the bottom of the drawers would fit into these grooves I'm cutting. While very cheap and simple, I would not suggest this design for anything but very light duty drawers. The cutting is tedious, the drawer height is then locked into the design, and the drawer bottom can break under its own weight when the drawer is pulled out partially.
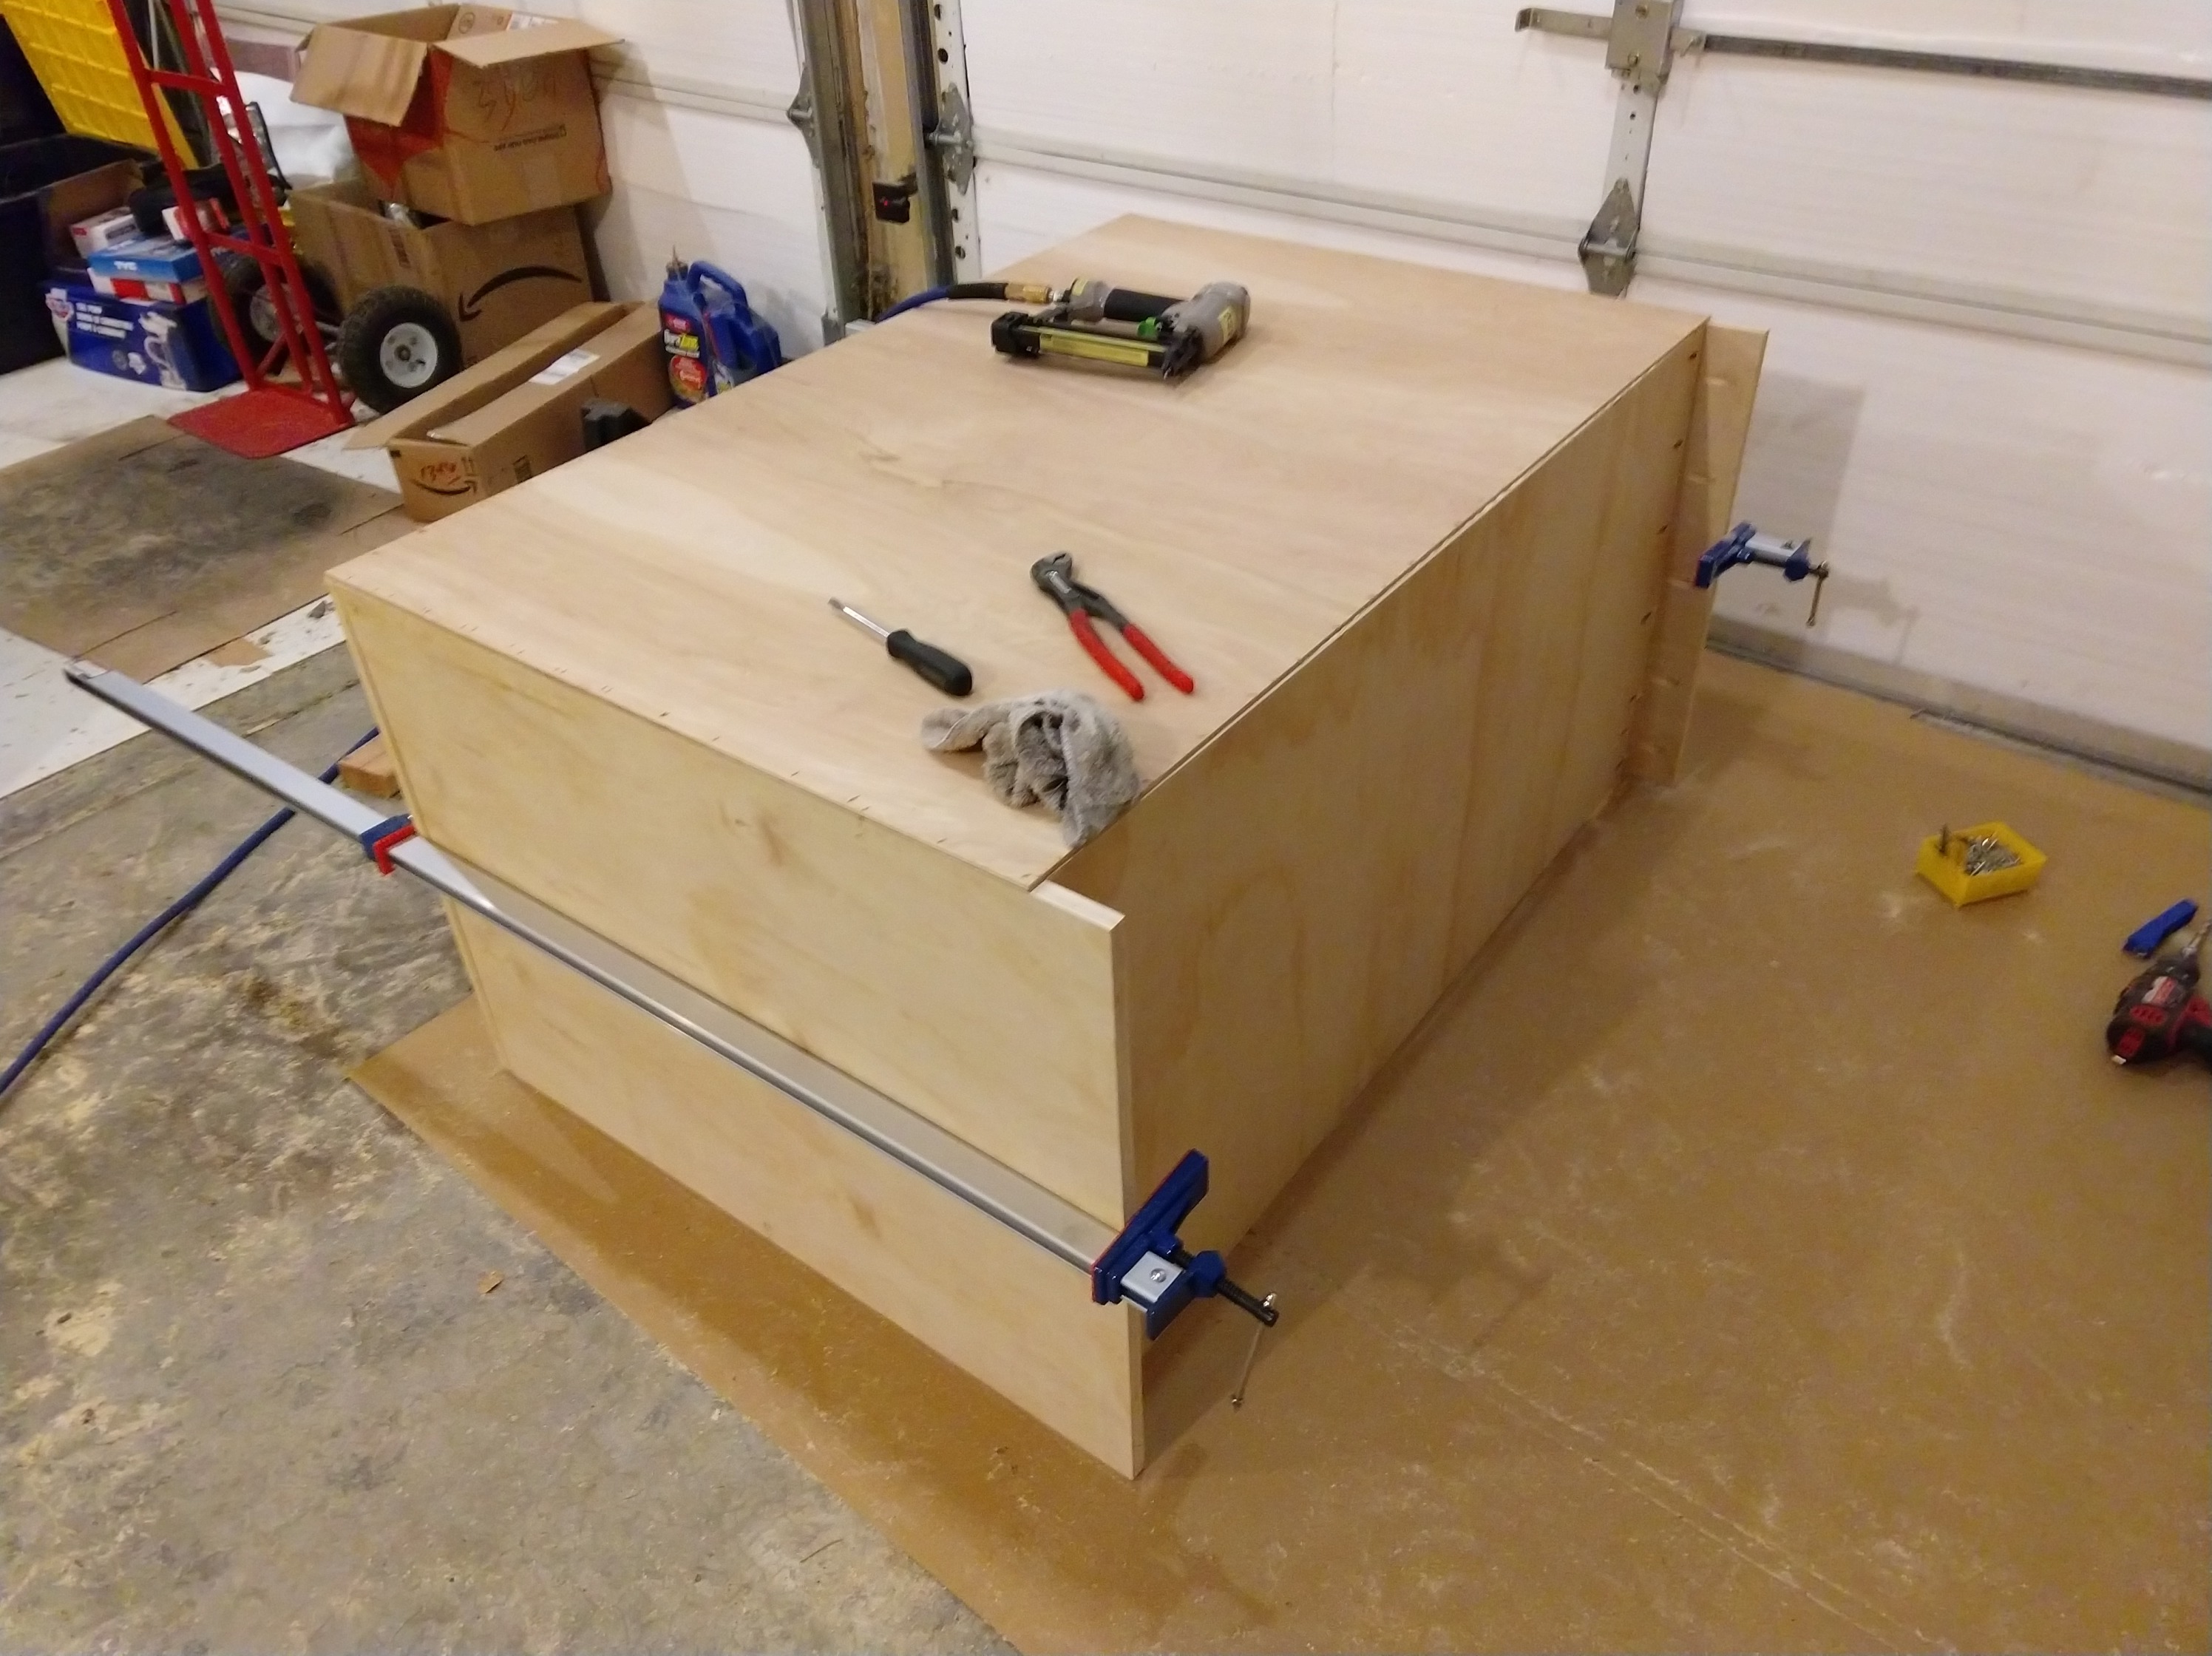
Assembling the cabinet. My strategy for making the cabinet square is to connect the top, bottom, left, and right sides of the cabinet. Then, when the back panel is placed on top, it is used to pull the other sides square. While I am happy with the result, the measurements must be exact and I suspect there is a better way for this assembly.
Also noted here is that I'm using the Kreg Pocket Jig for these holes. Butt joints are generally weak, and the thin material combined with the layered material of plywood makes joining plywood at a 90 difficult. The jig allows the screw to claw into the perpendicular plywood, and I never had any splits in this project.
Building Drawers
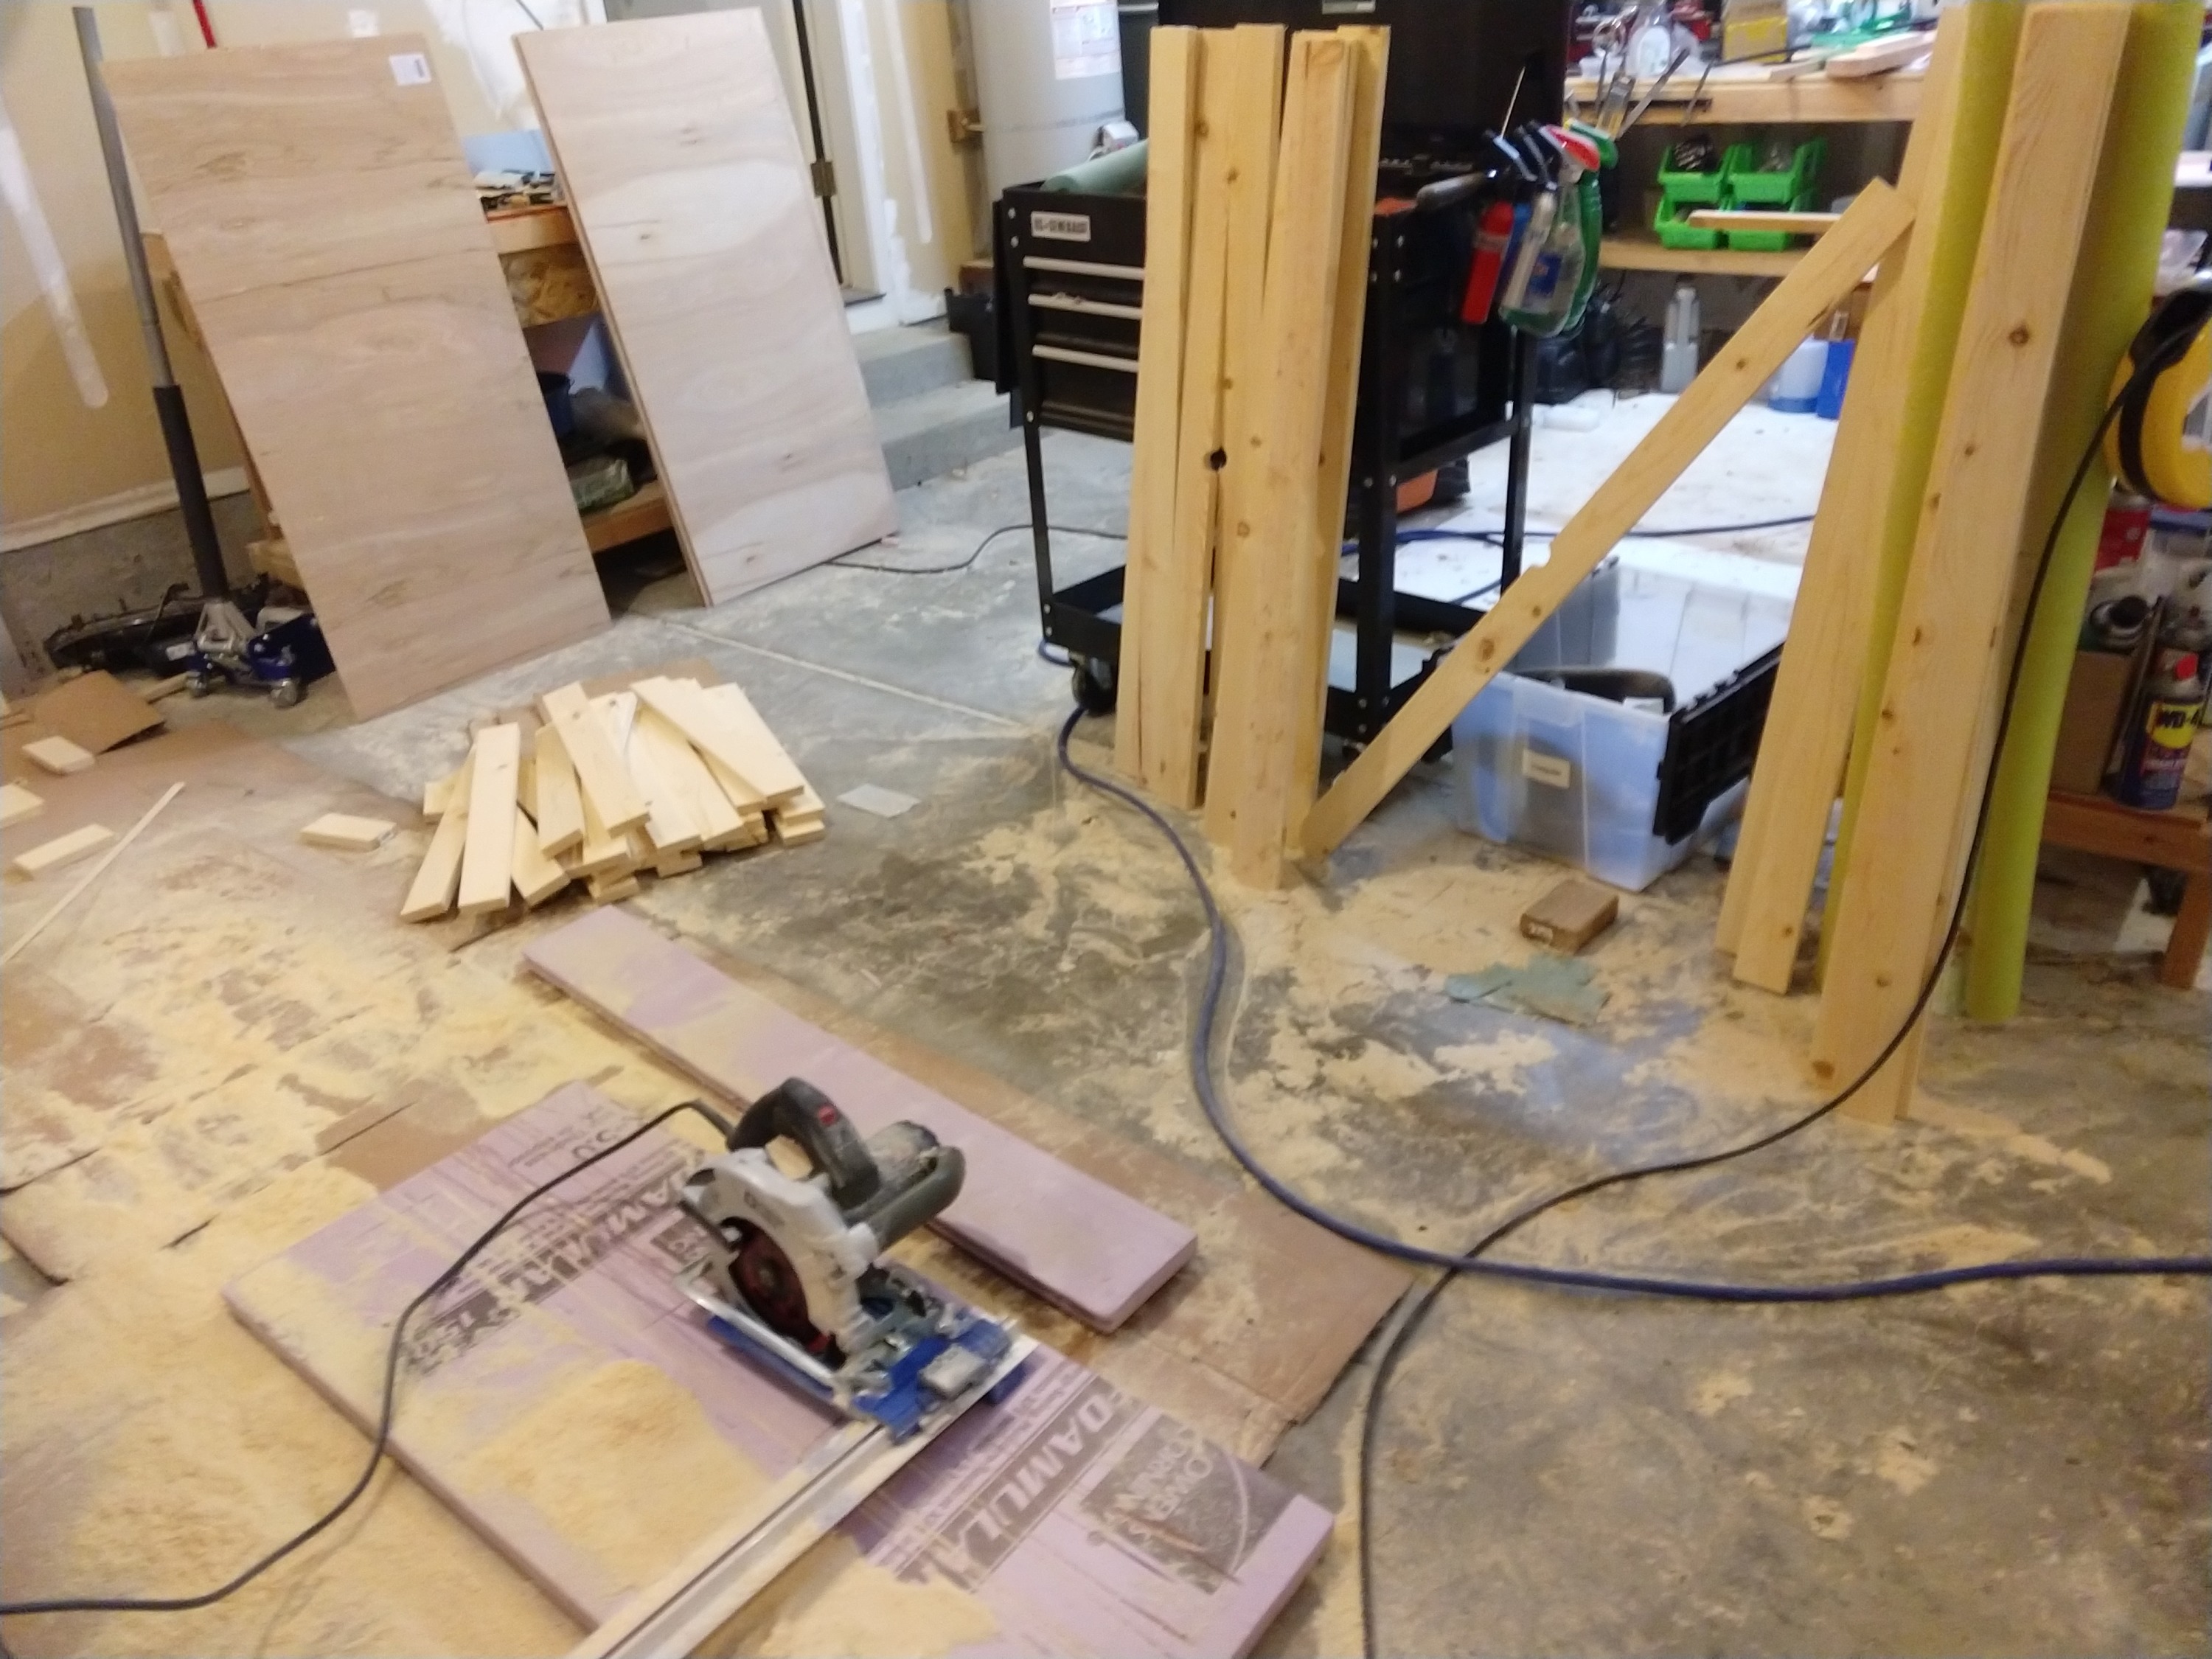
The drawers are slightly smaller than 24x48" to fit inside the cabinet. Using my miter saw setup I cut the 2x6 boards to length, keeping in mind that each board will be ripped in half. Before ripping the boards I used a spade drill to add a hole in the centre for a handle. A budget decision which resulted with the hole frayed and it is not an easy handle to use.
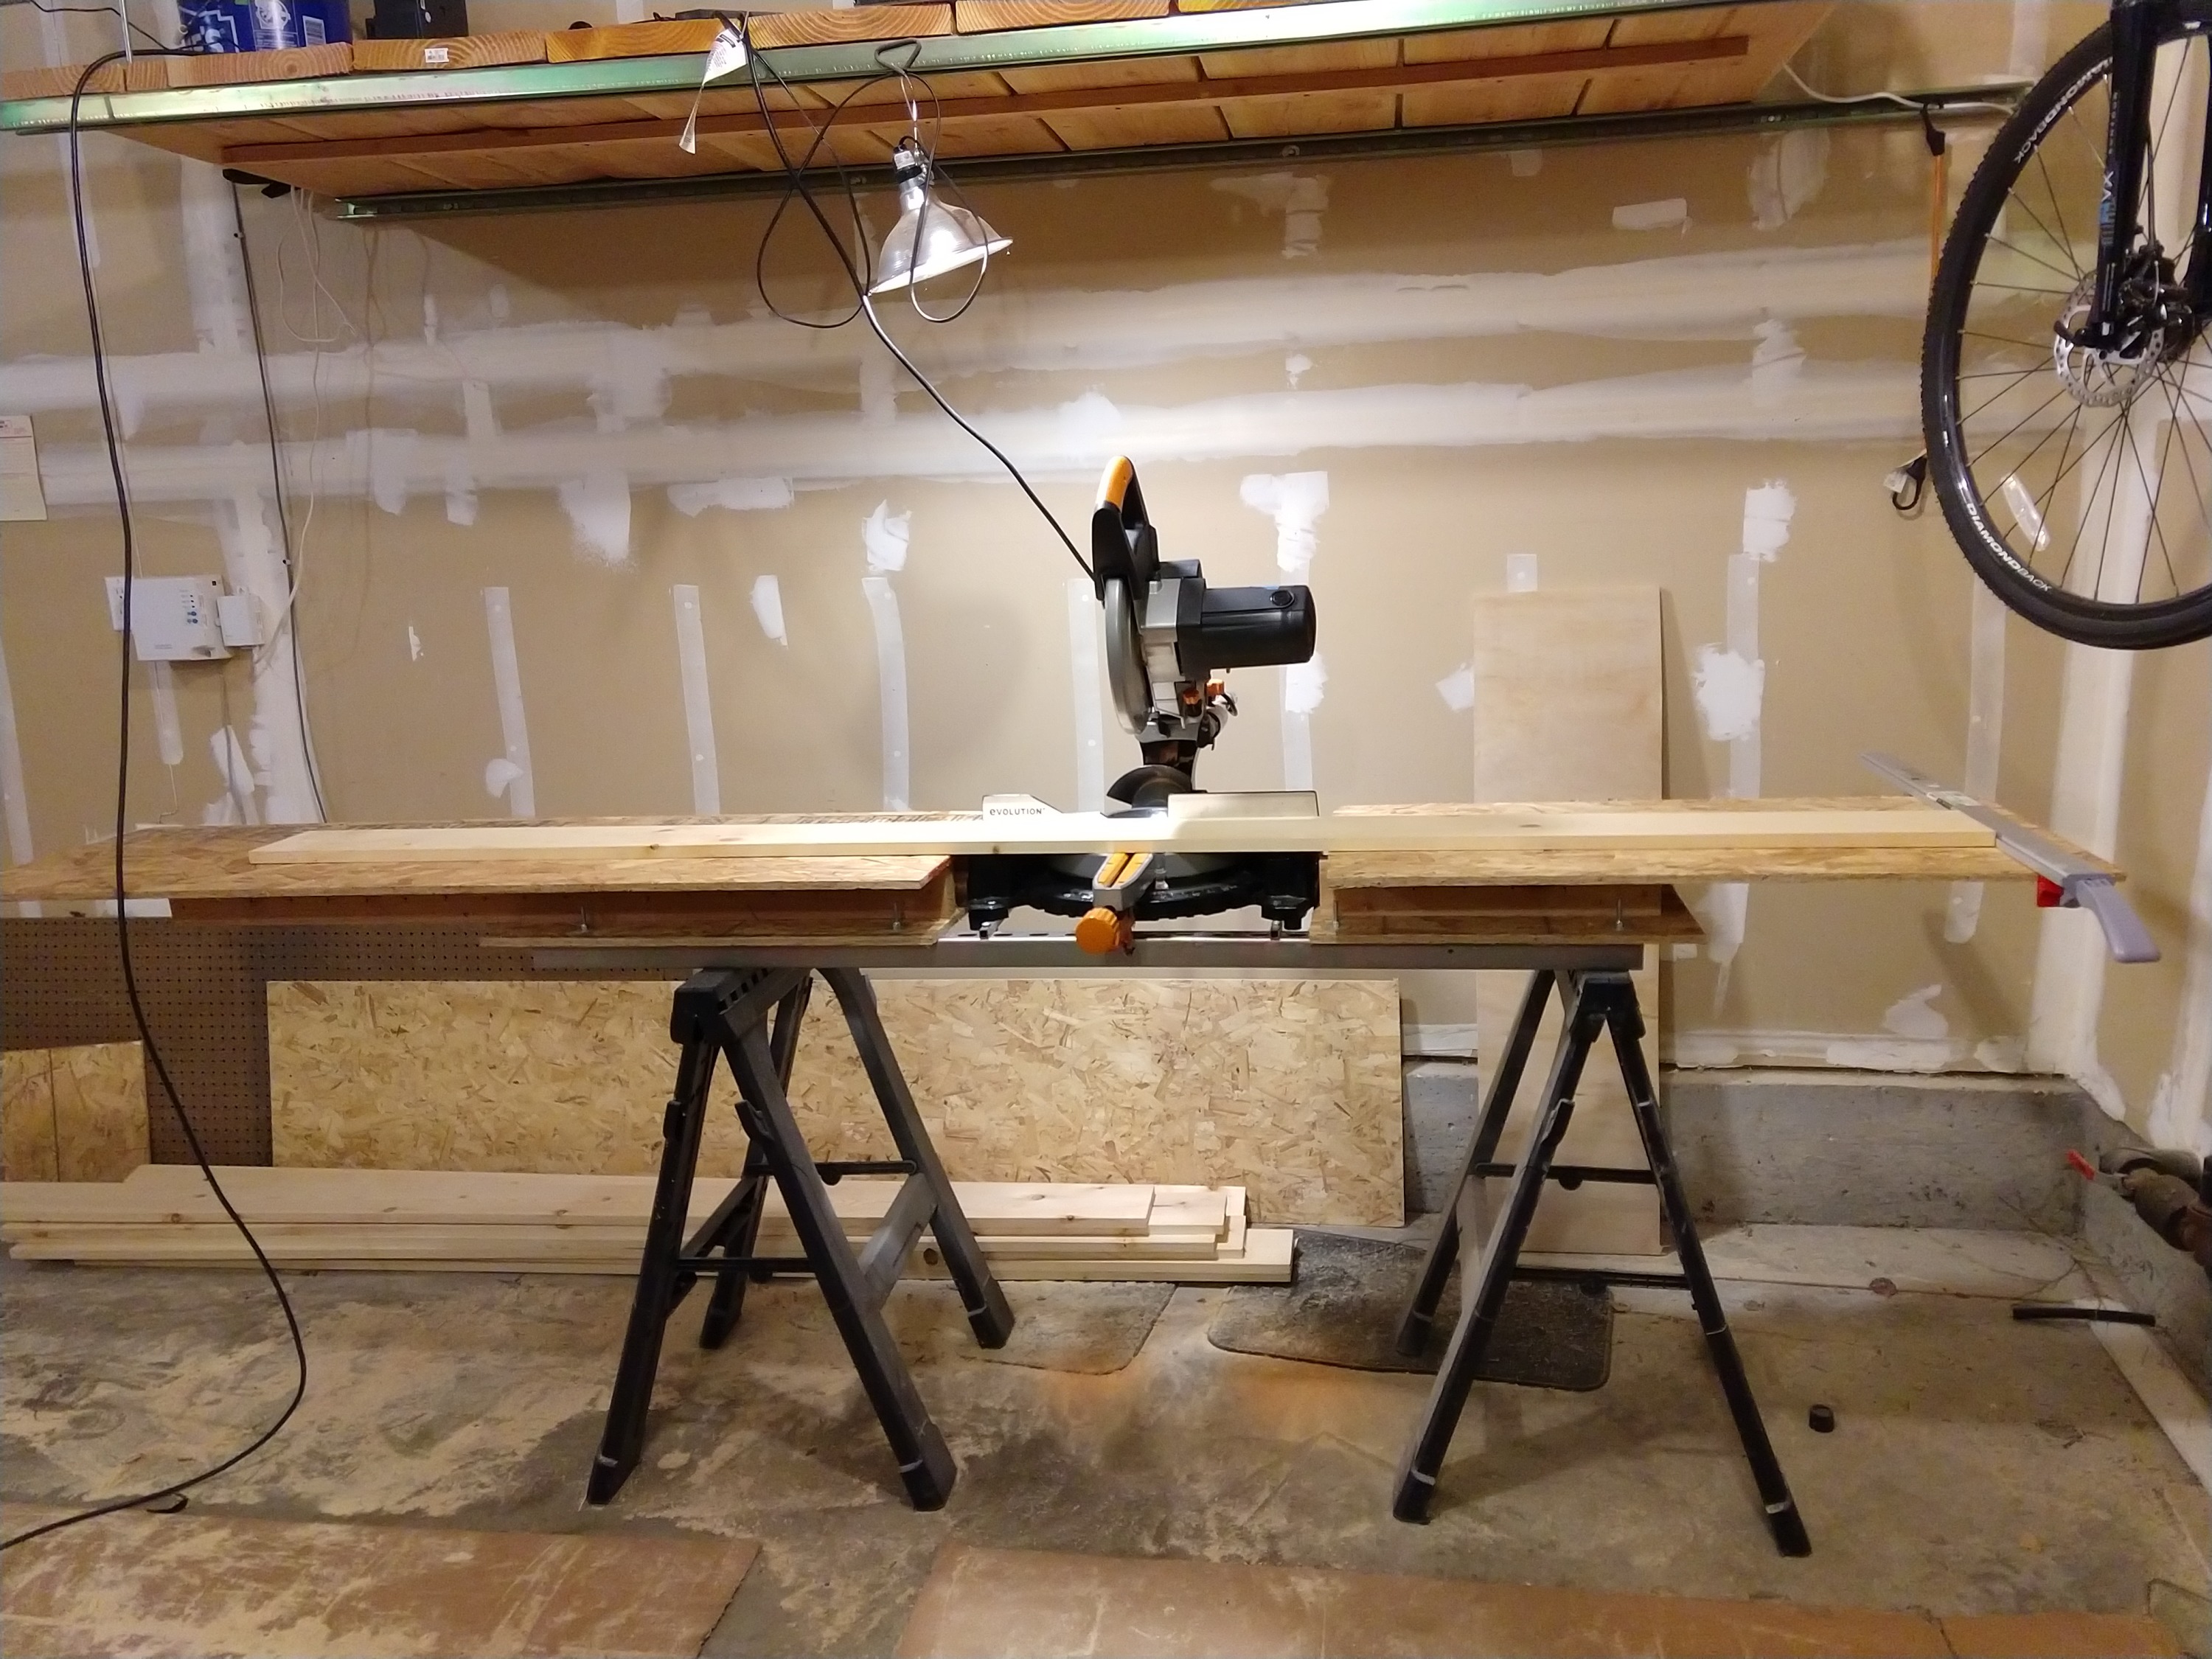
With the boards cut to length, the below picture I'm using the Kreg Rip Cut over some extruded polystyrene to rip them in half. Yes, a table saw would be easier but I'm not ready to spend the money, or store the table saw in my garage.
Not pictured I cut down the underlayment into 24x48" sheets. I then screwed together the sides of the drawer (Pocket Jig again, less critical for pine). Similar to constructing the outer box the bottom of the drawer should pull the sides square, however I found taking some time with my 48" clamps to approximate square before attaching the bottom helped a lot. Wood glue and brad staples for the bottom.
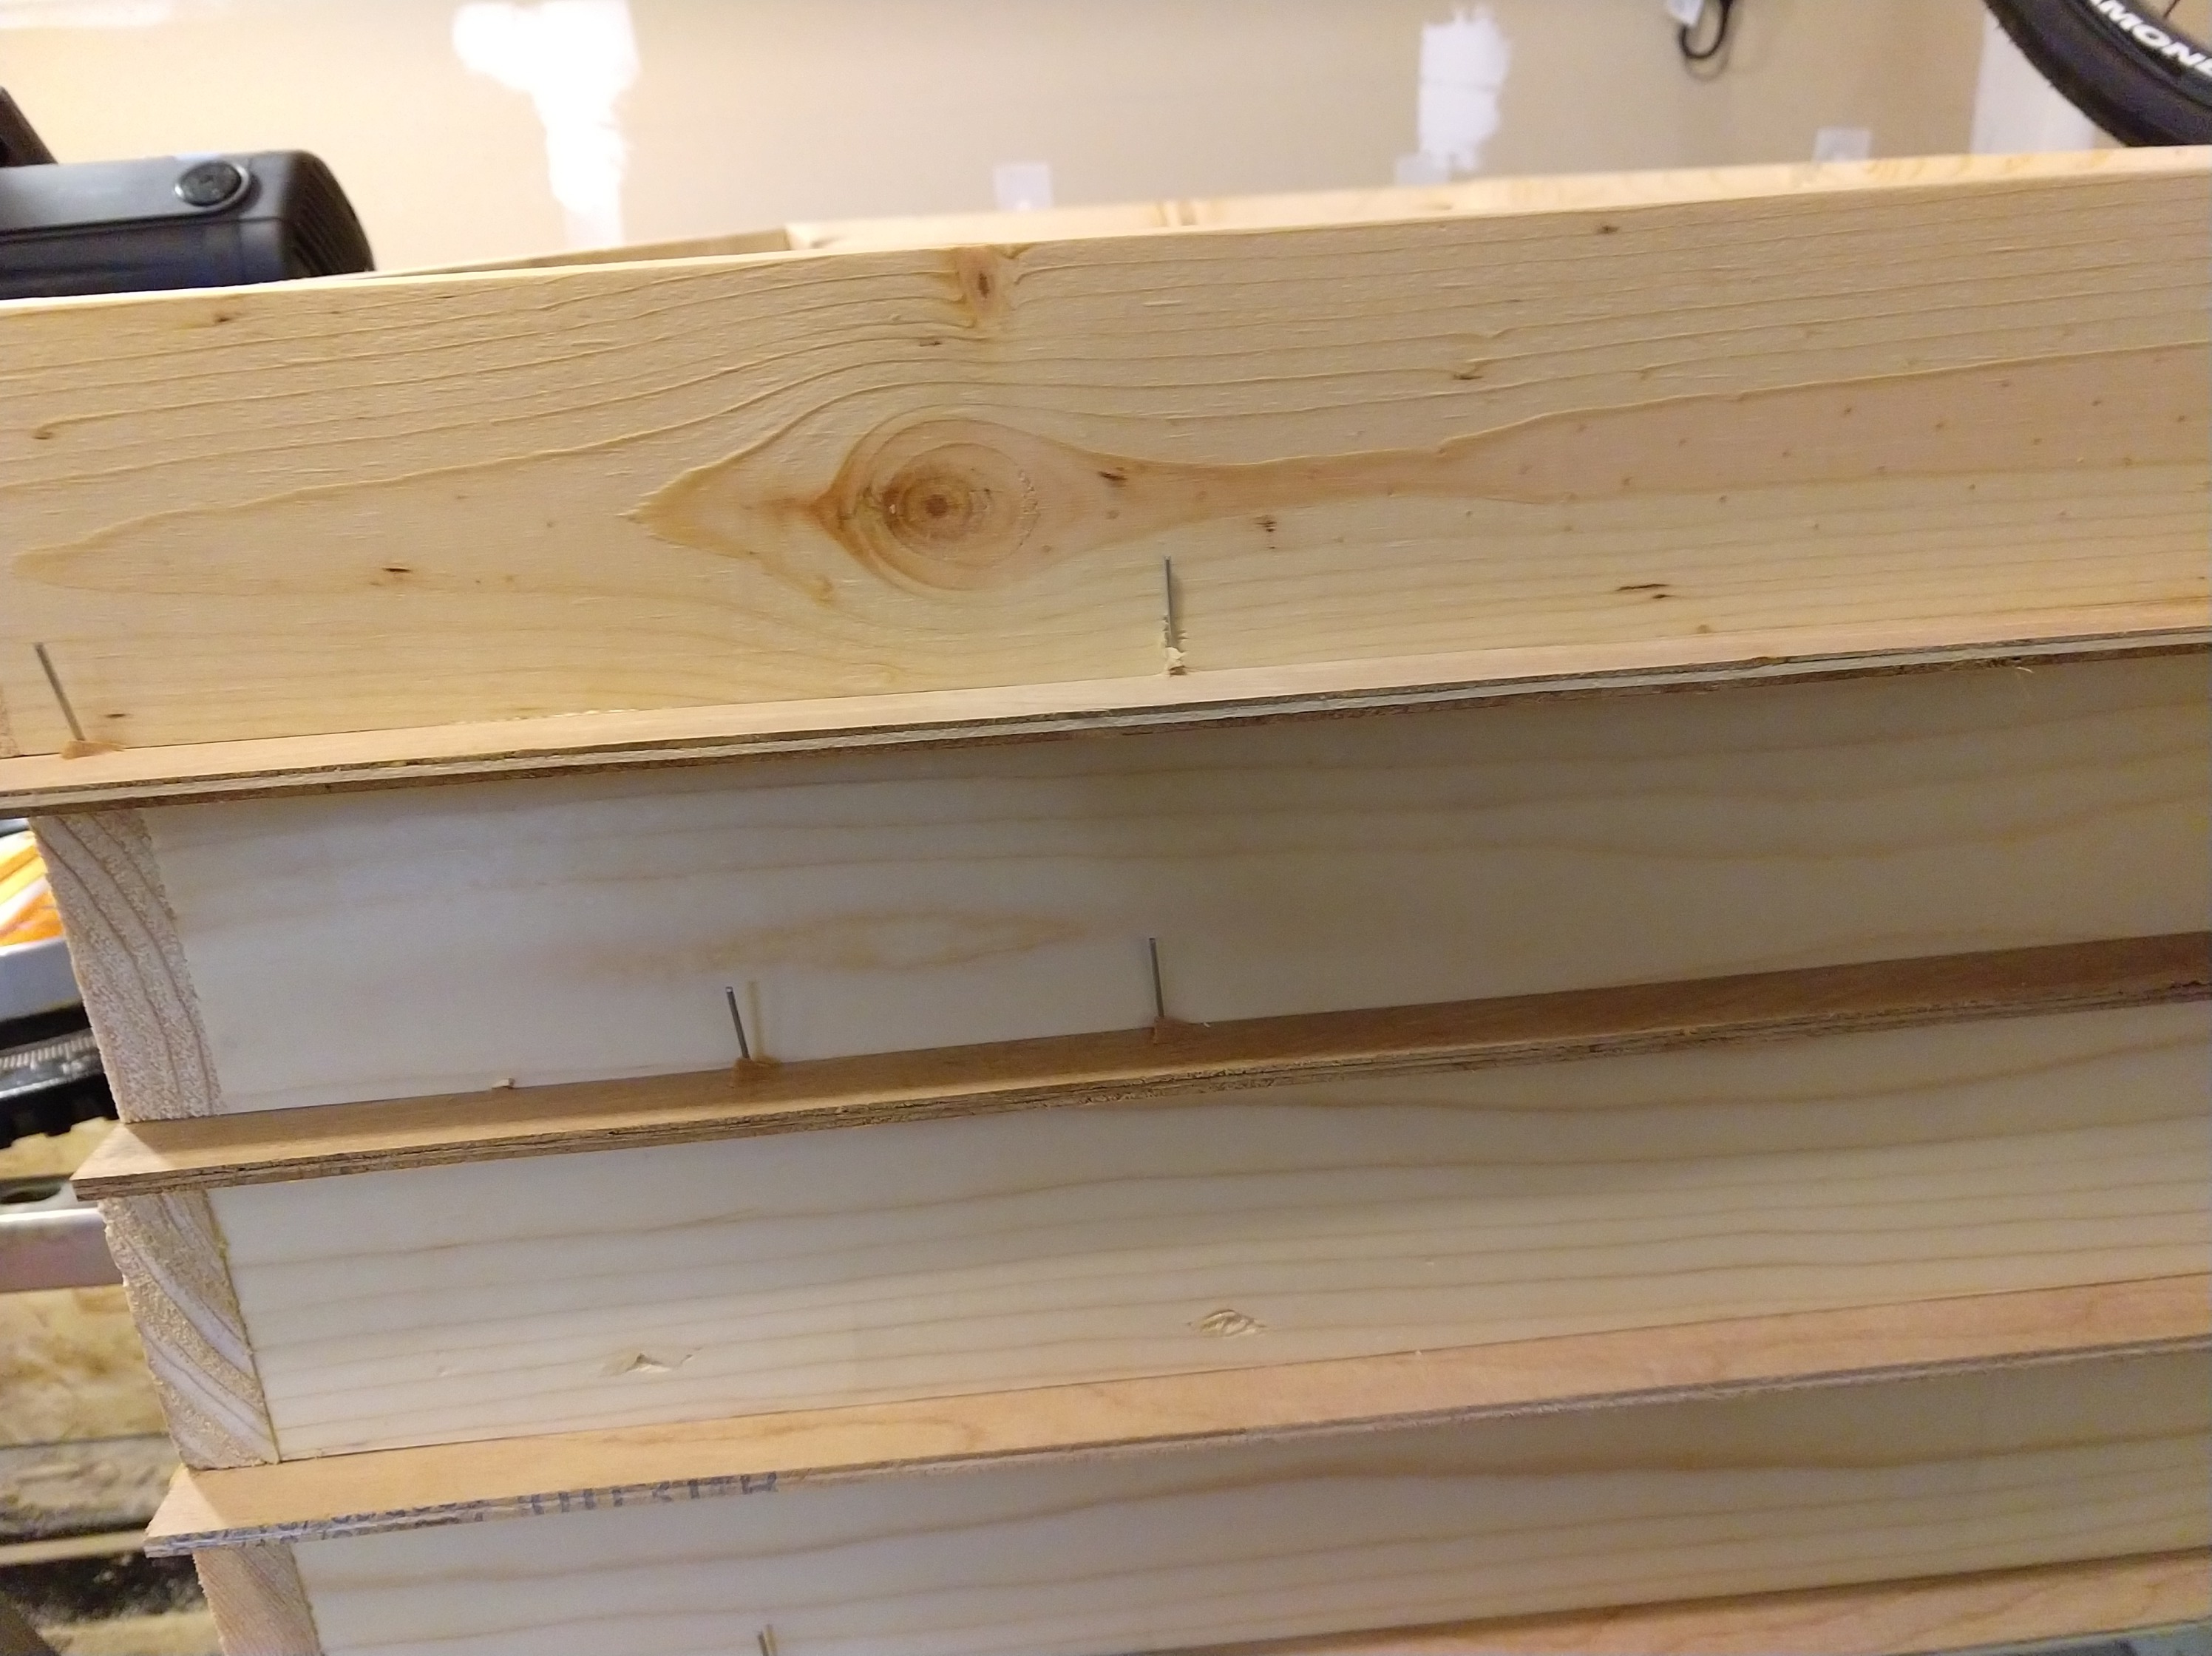
Another weakness of my initial design is pictured below: some of my brads were misplaced and exposed on the outside or inside of the drawer.
After some test fitments, I decided to scrap my original slide design and move to a more traditional approach of a drawer resting on a rail. The Kreg Rip Cut can make tiny cuts as required for this type of surgery.
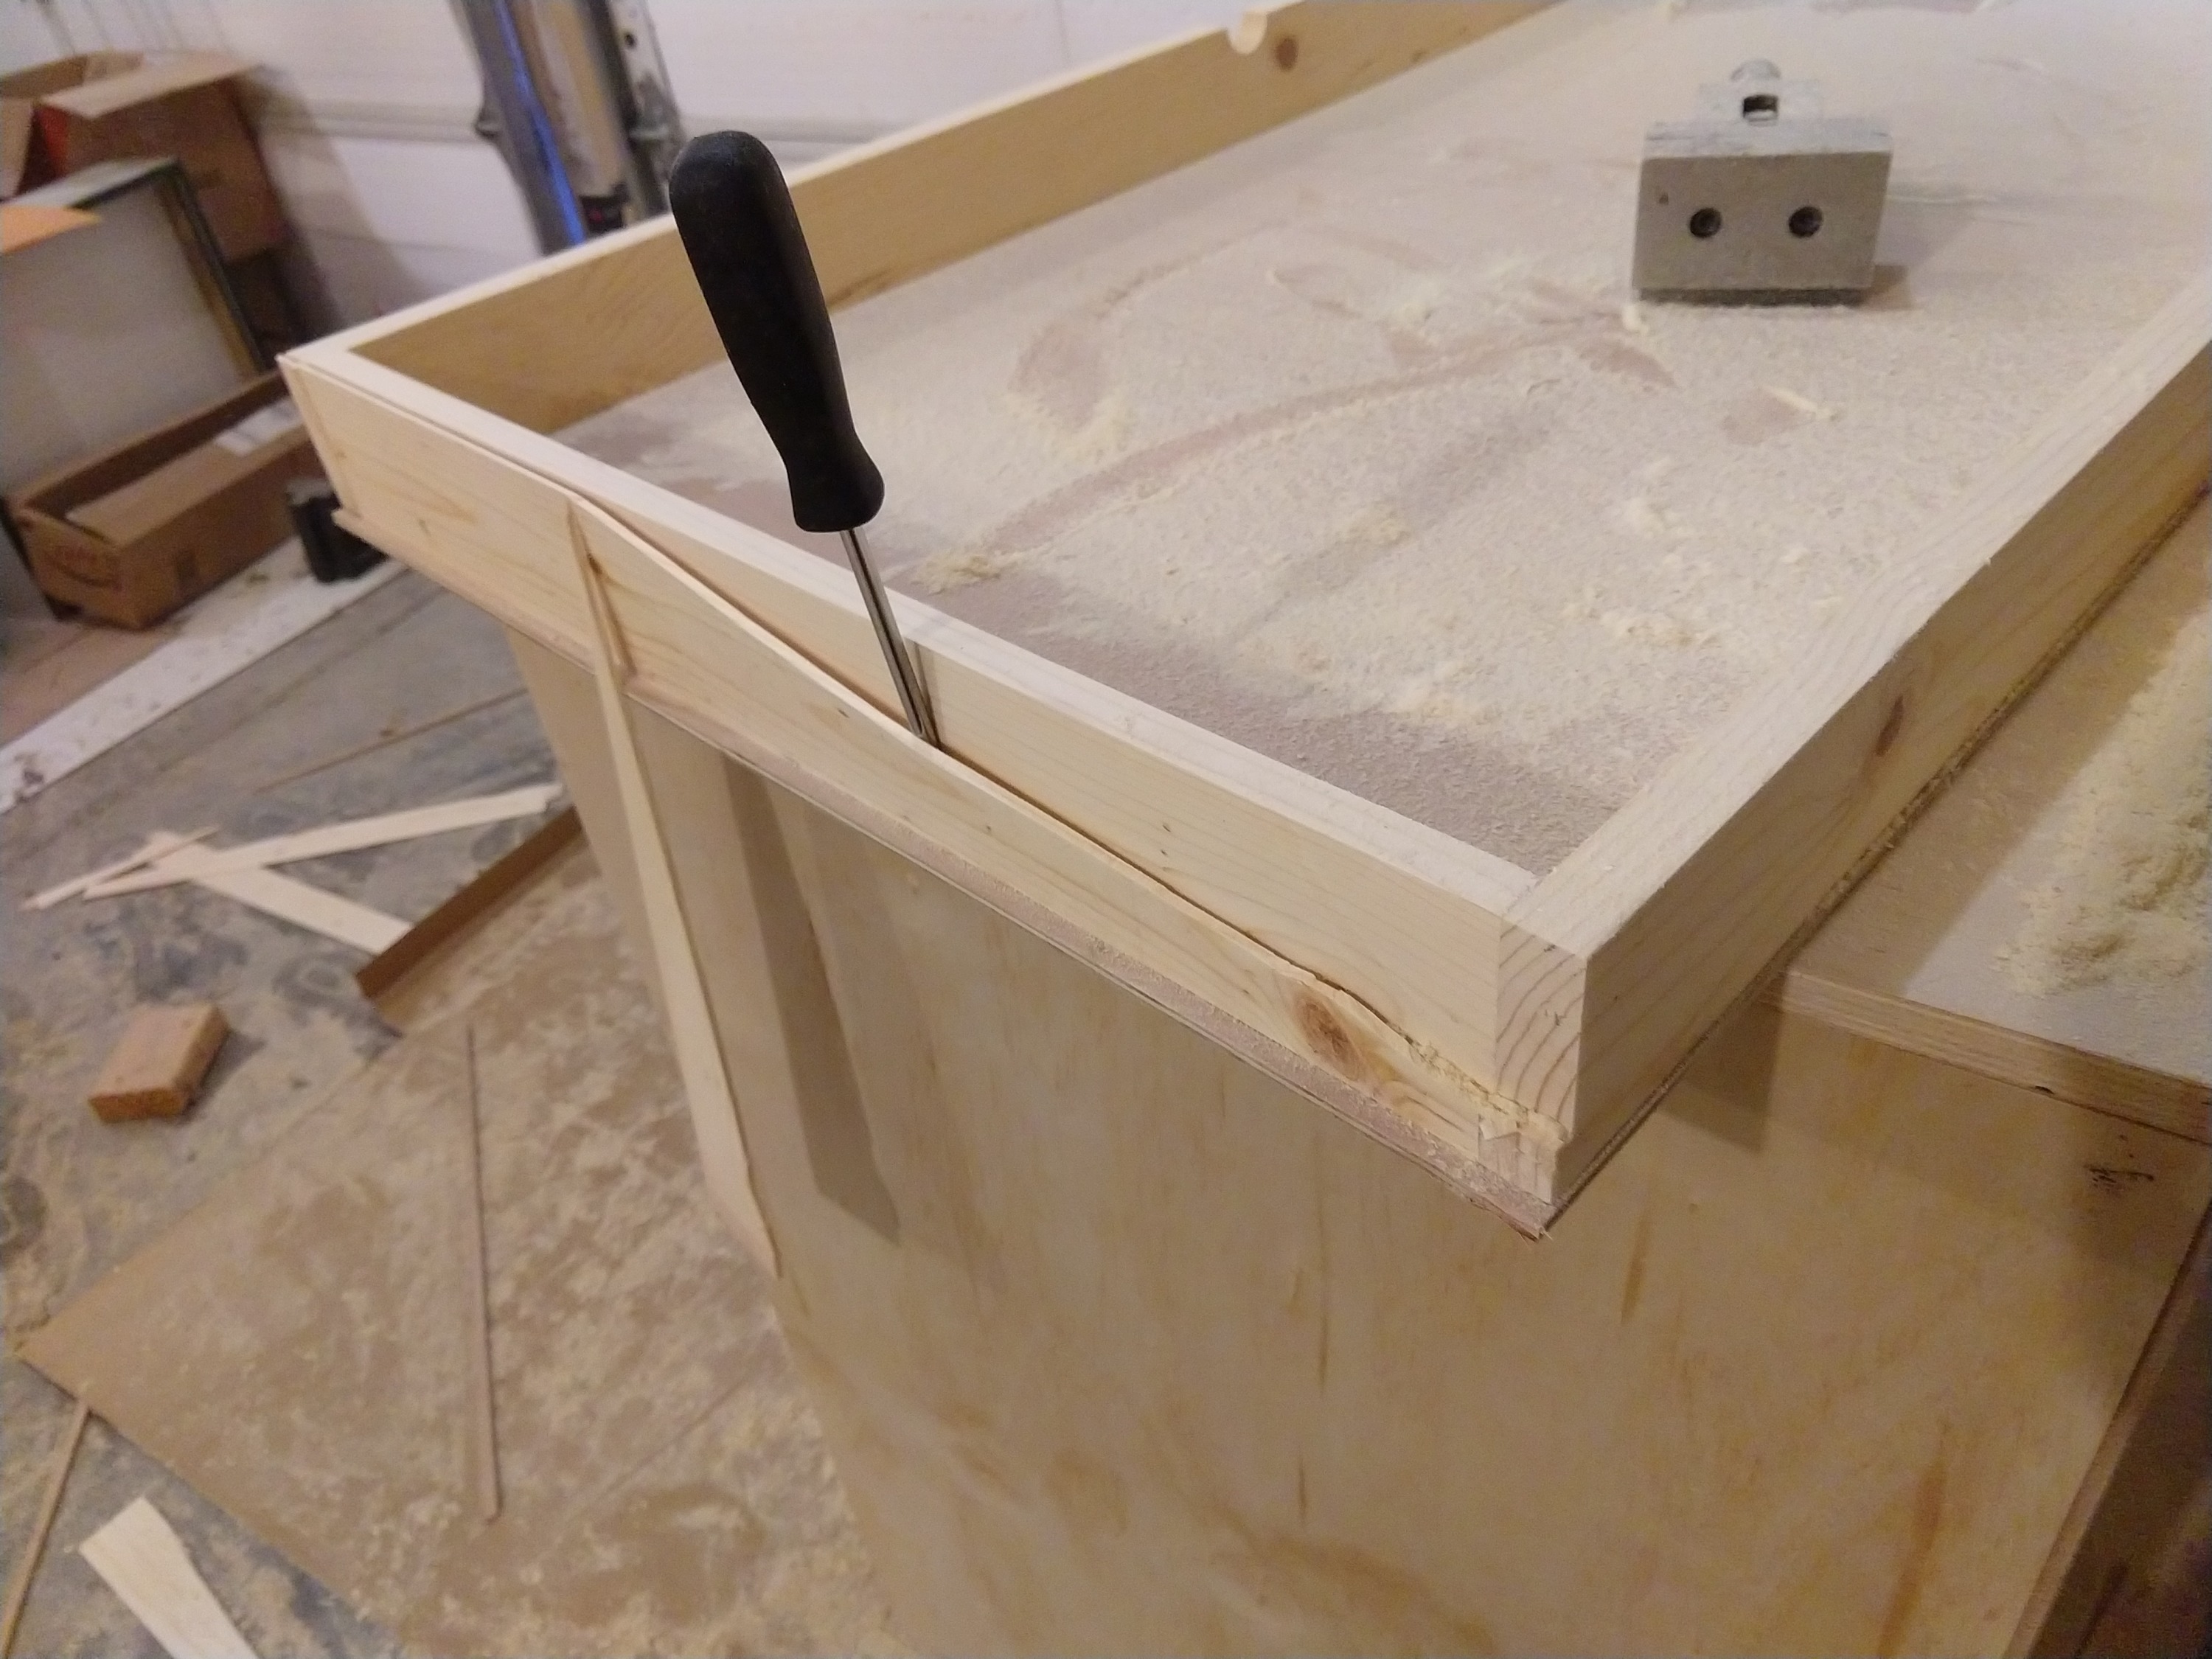
The circular saw blade only extends about two inches max and my drawers are about three inches tall, so I come in with a screwdriver to pry away the cut wood. This provides a surface for my flush trim router bit to trace against.
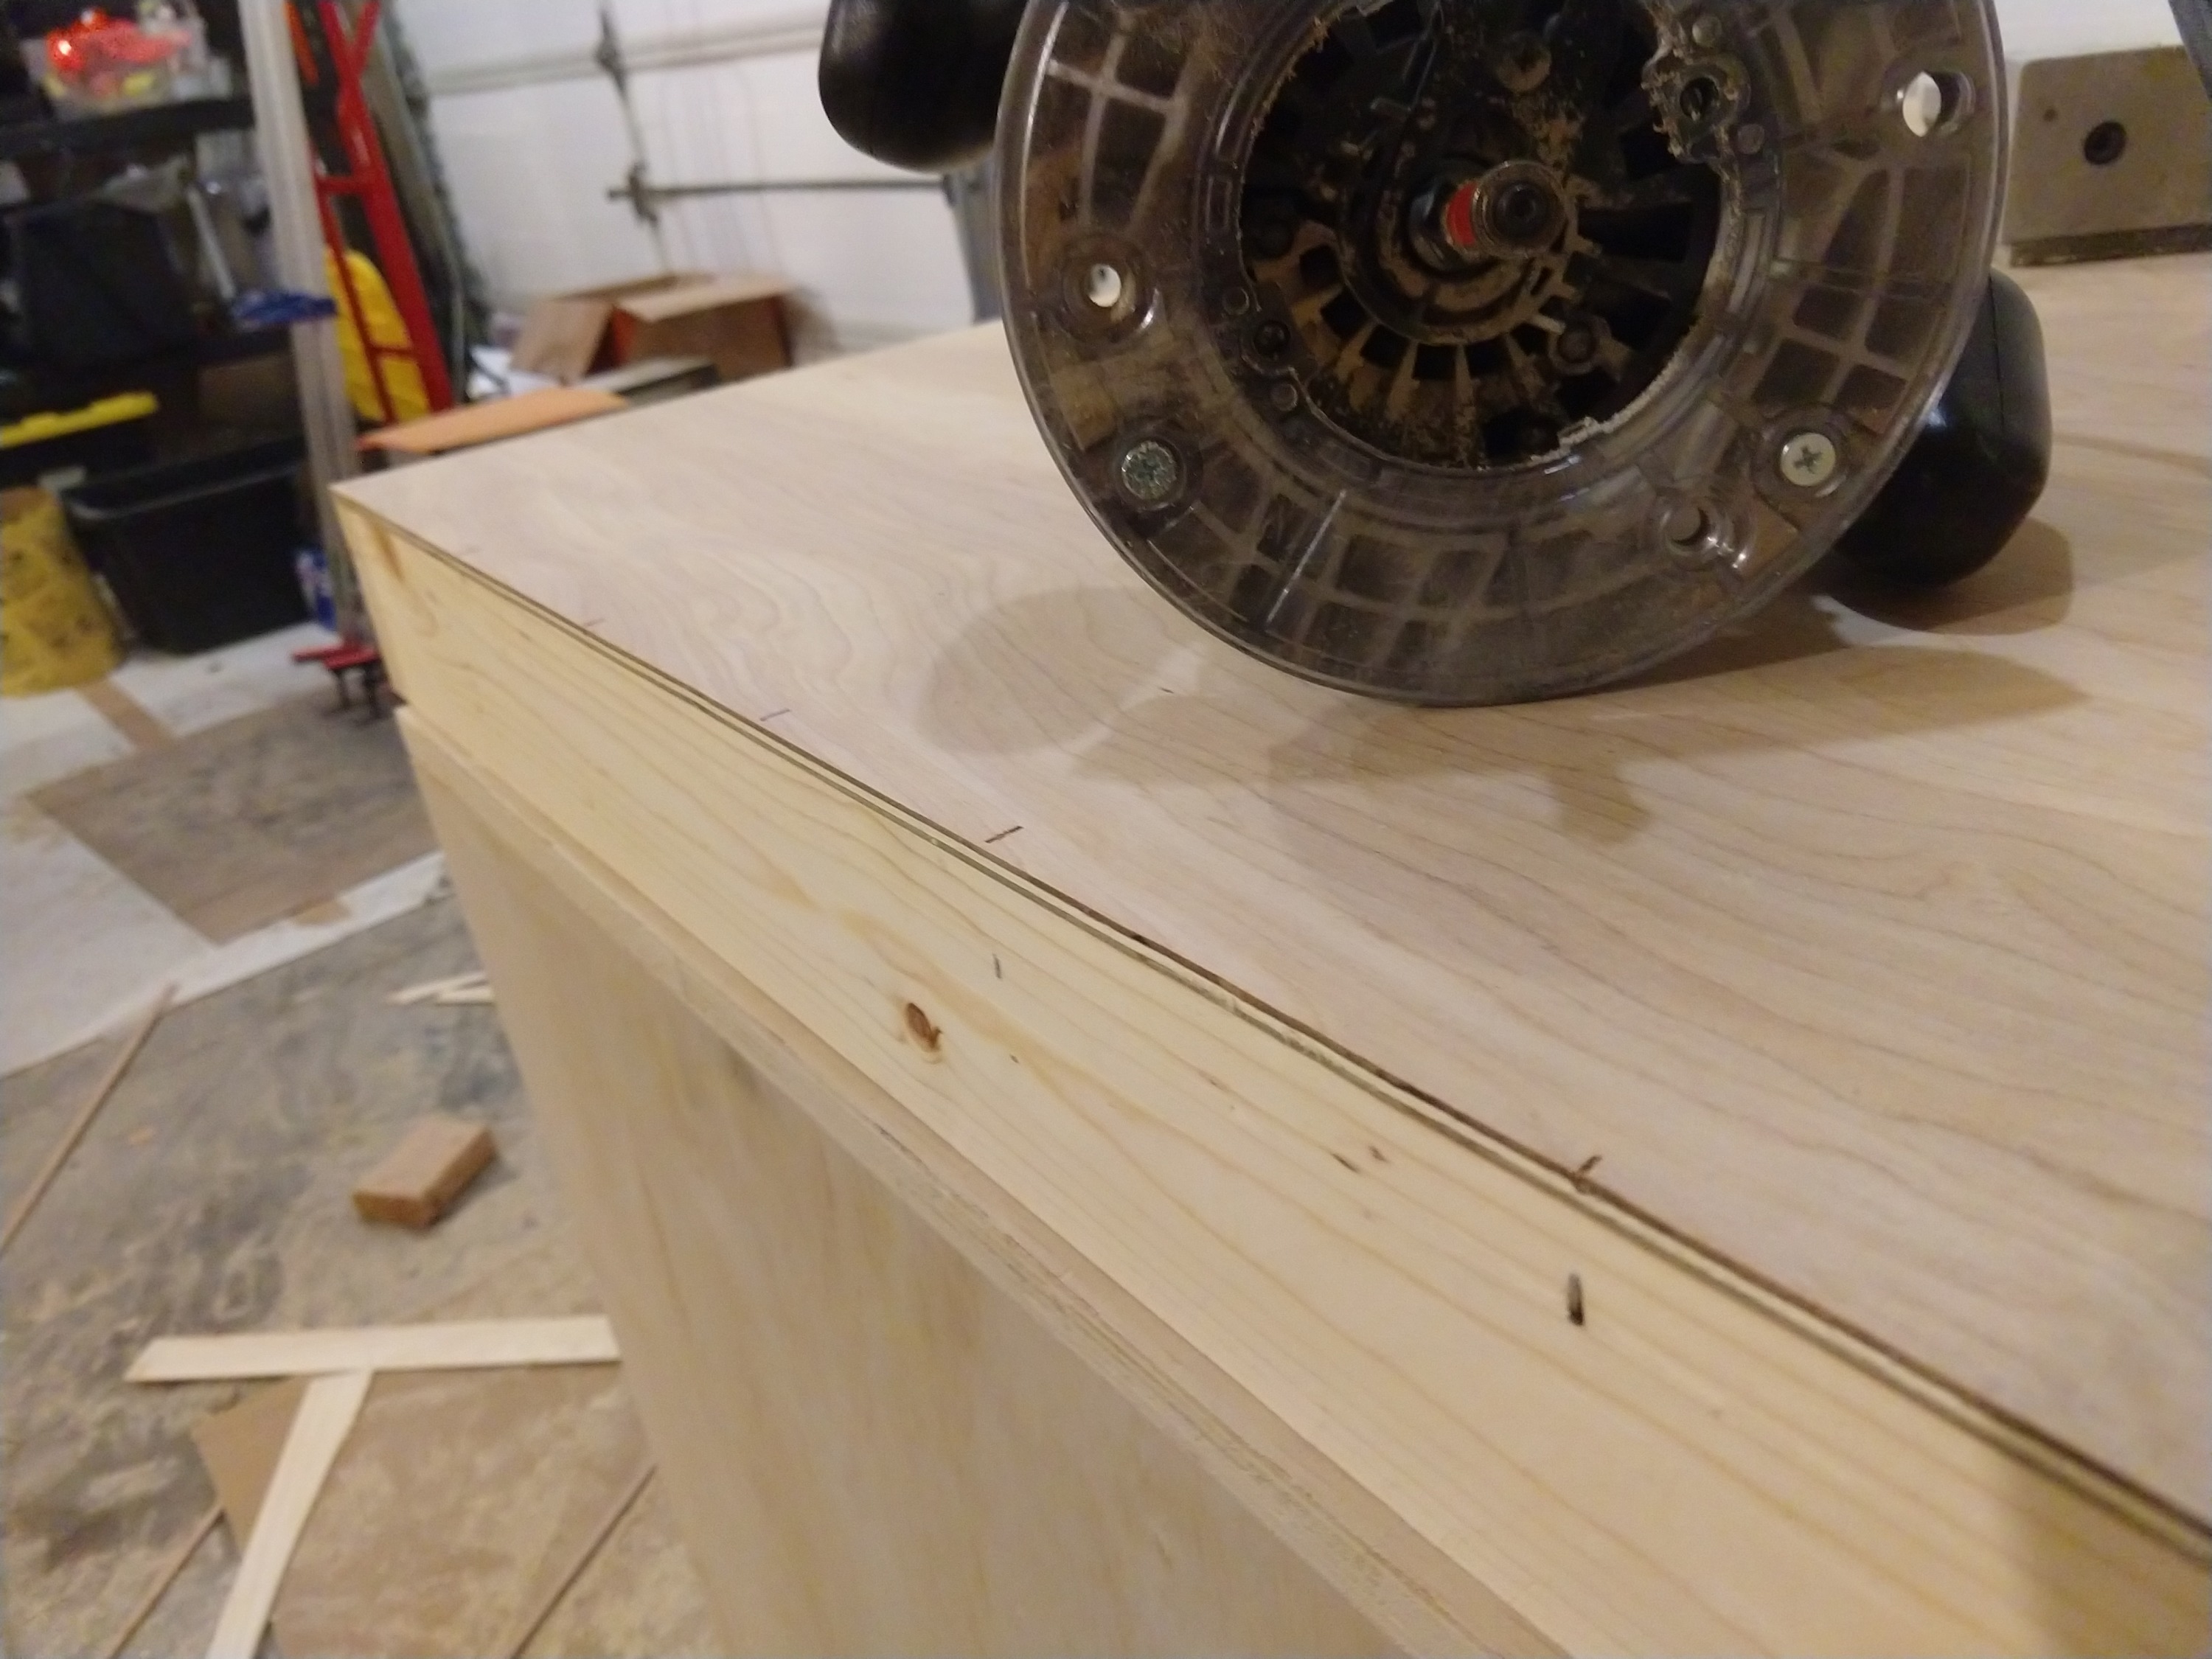
The finished surface after the circular saw cut ~0.2" starting from the bottom, and the router matching that cut.
Due to the nature of the cut, the router bit hit a lot of brads and screws. I'll sand the end result but this bit is not looking healthy.
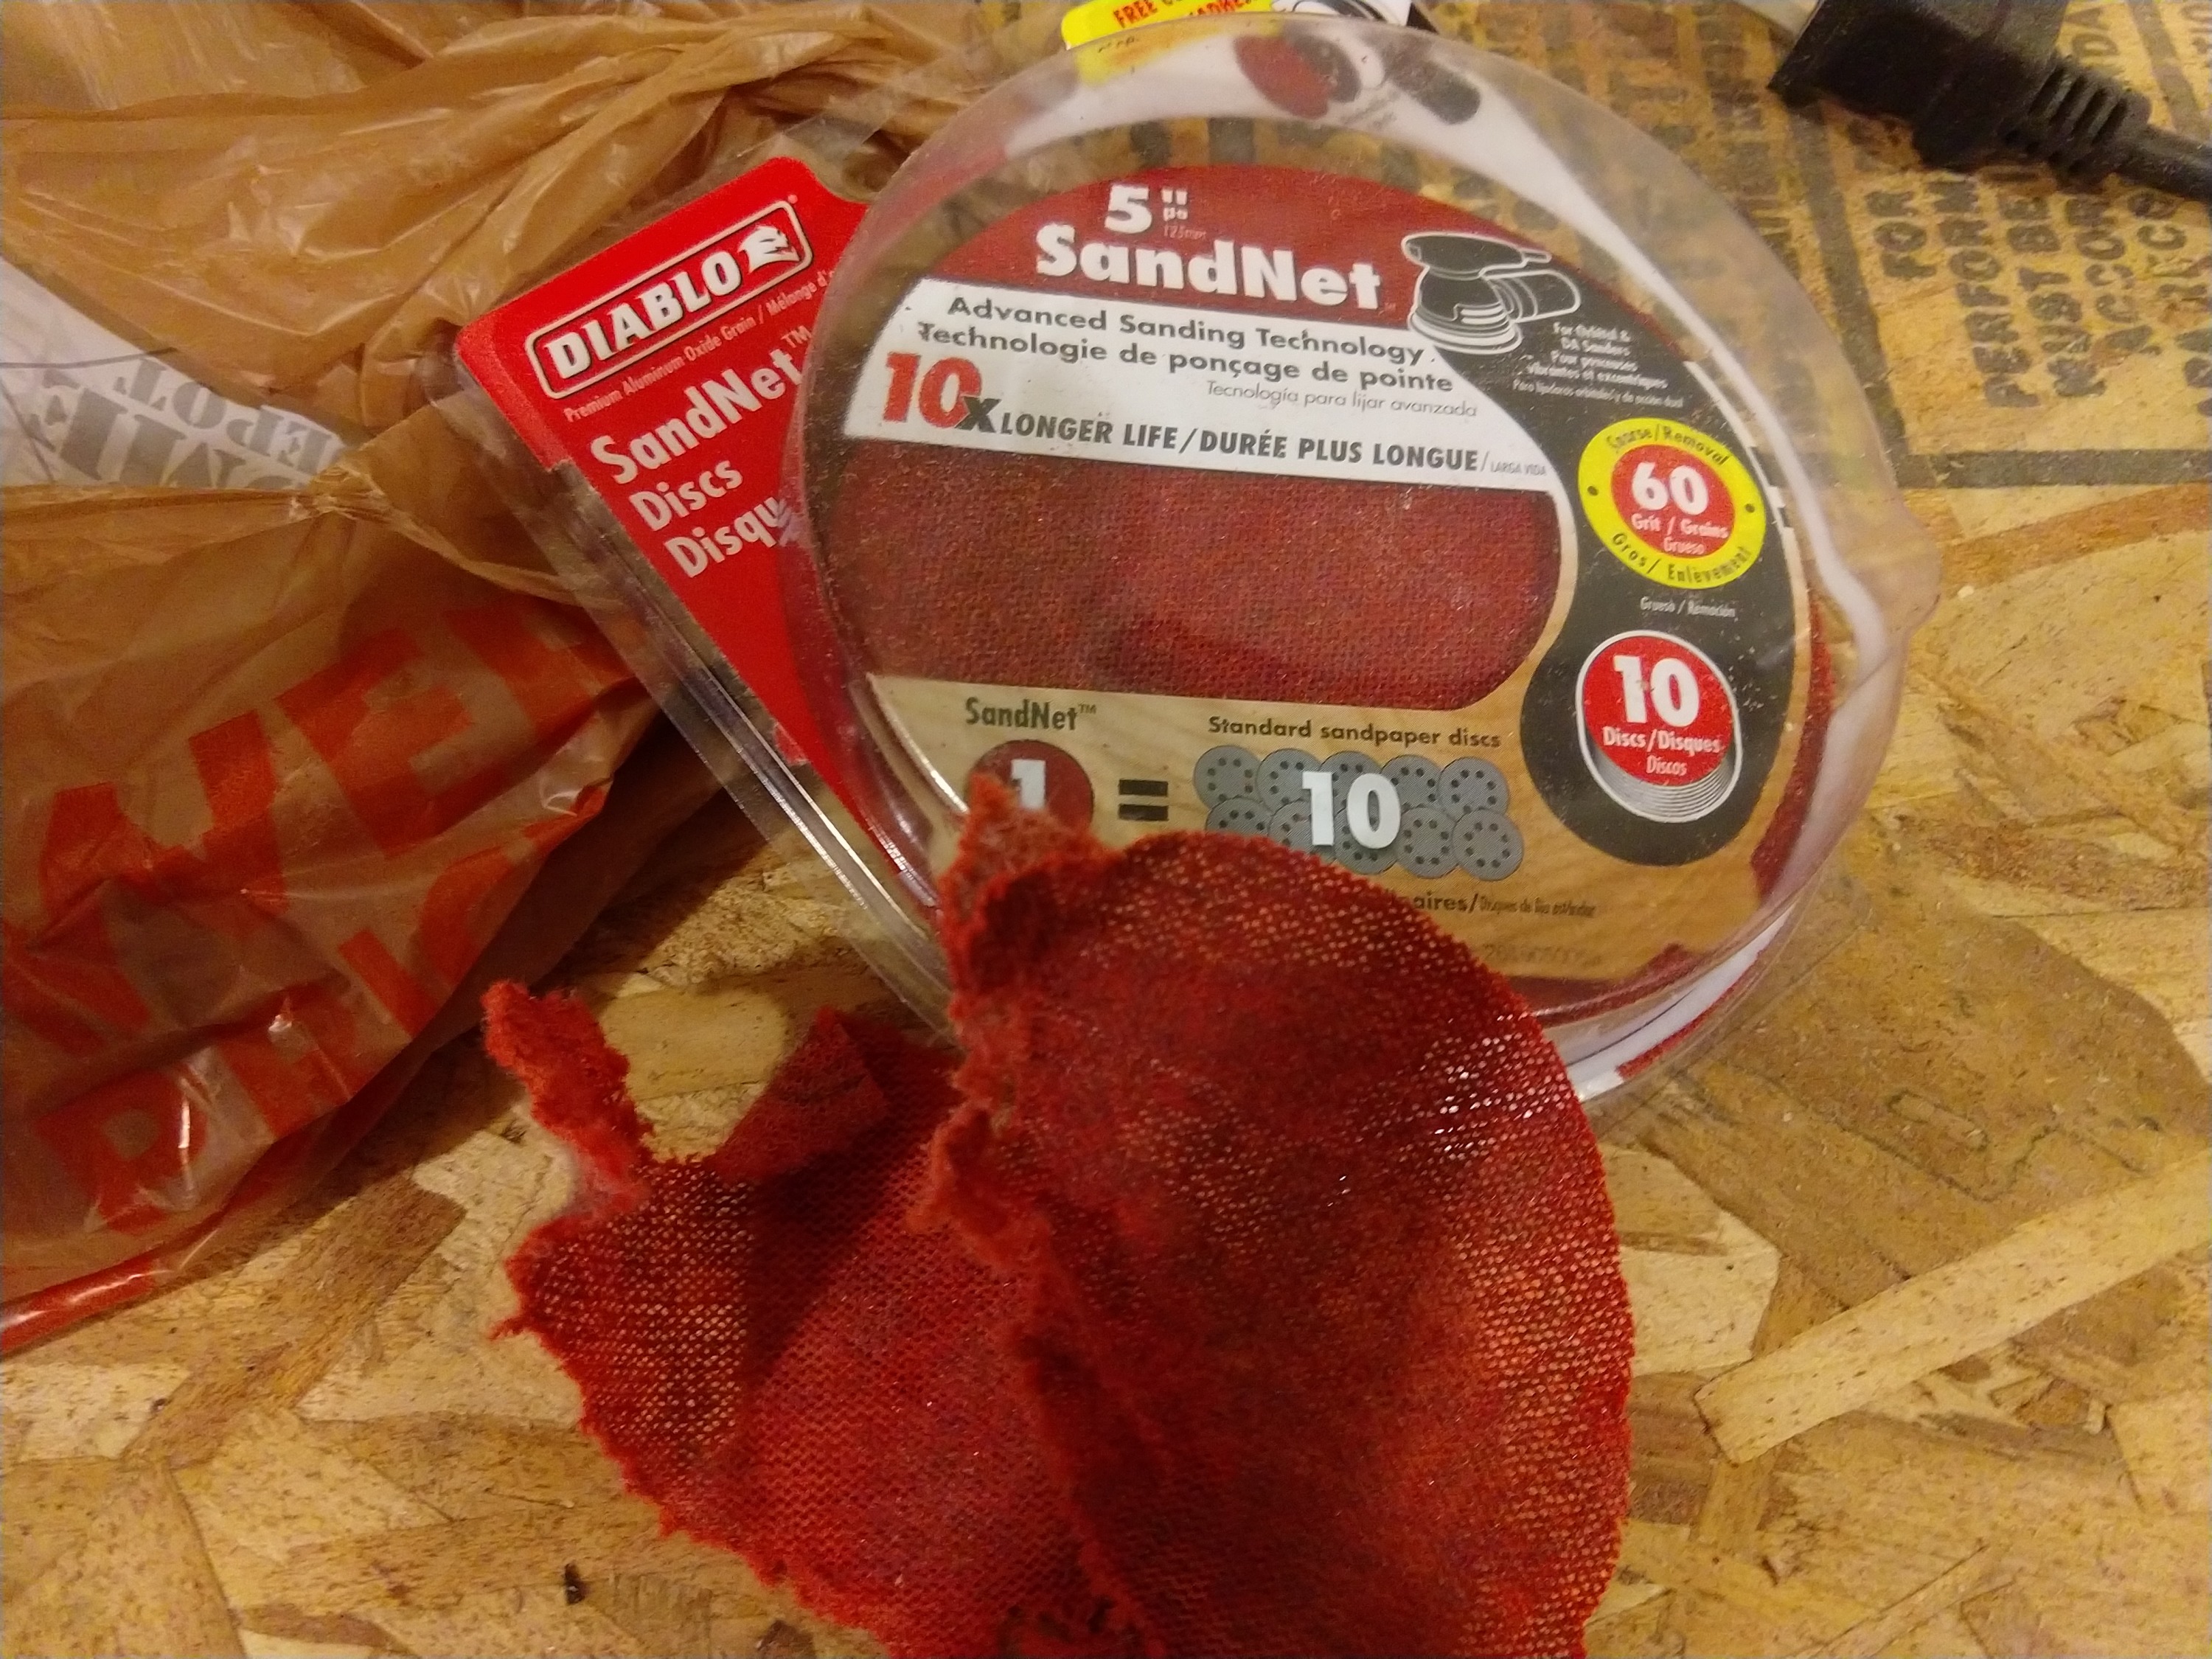
I ran my orbital palm sander over the entire cabinet. Being a utilitarian piece, I only ran coarse grit paper to remove major imperfections and reduce the chance of splinter. I tried the "cloth" sandpaper from Diablo and it was terrible. It was advertised as long life, but if the cloth hit any imperfection or a corner, it would tear to rags. I think this would be a good product for large flat surfaces like drywall.
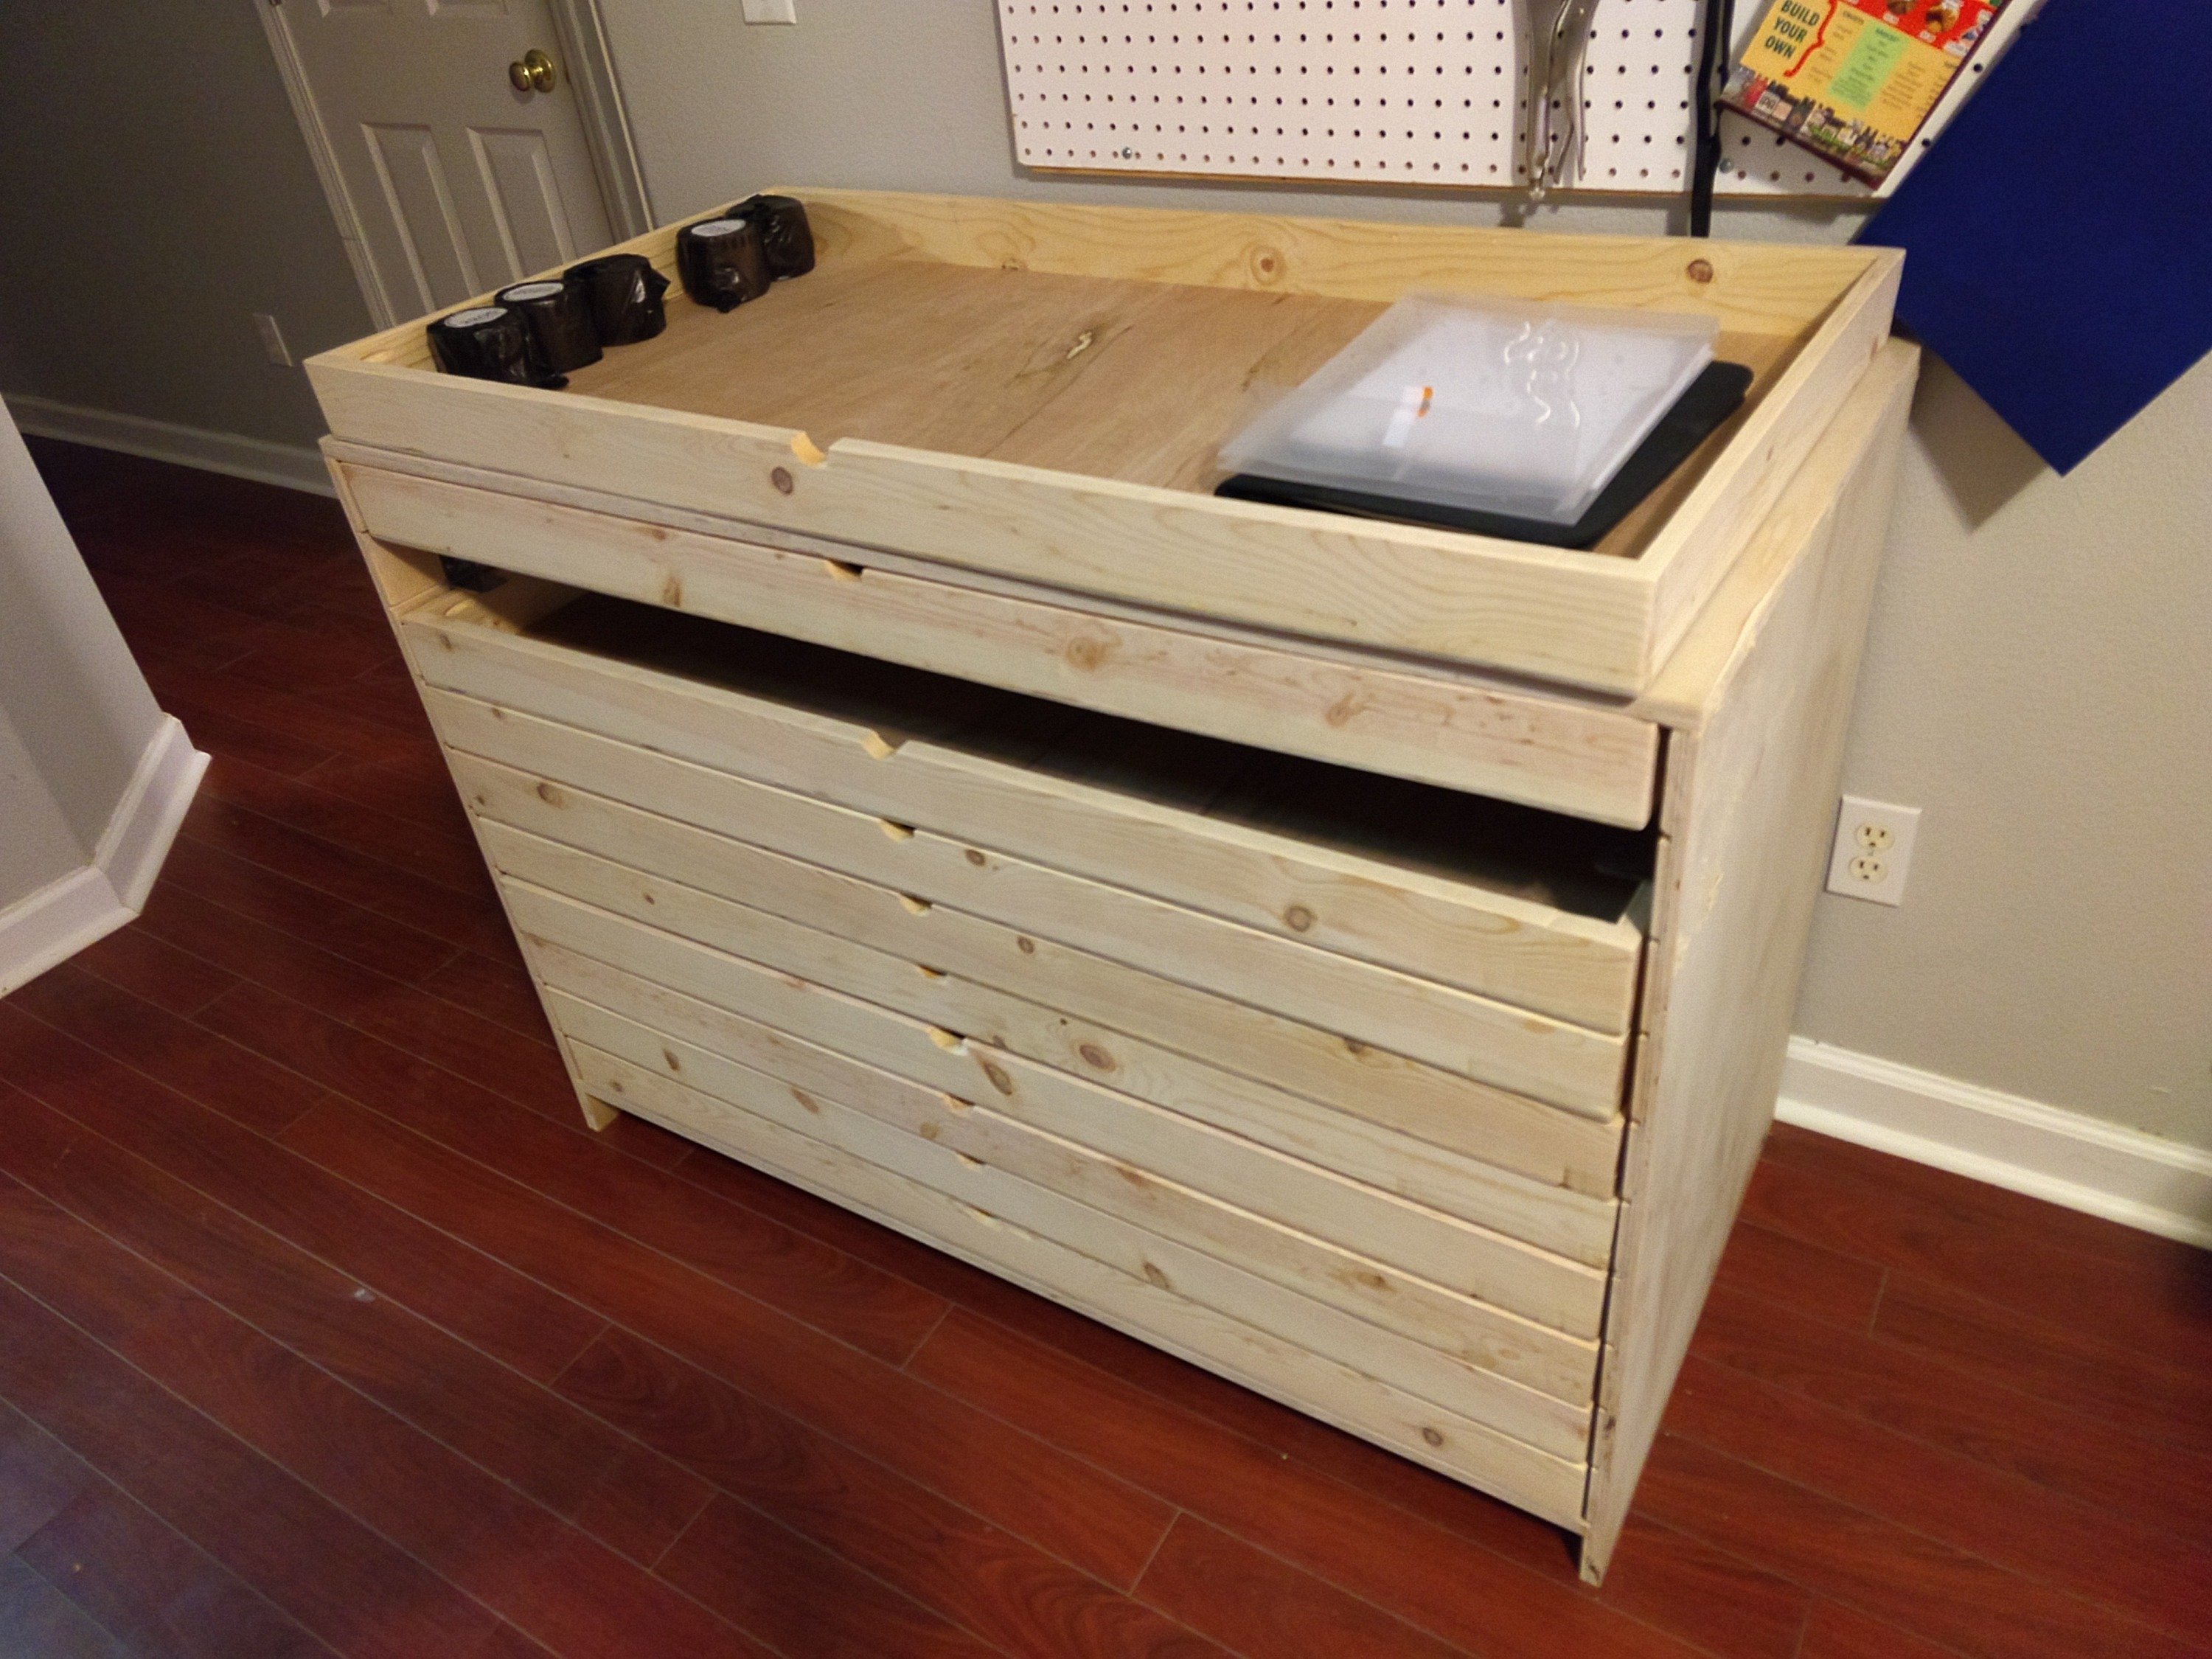
I picture below the initial configuration of the cabinet. I used four angle ties on each drawer to hold it up, however the drawers were too tight to use the cabinet effectively. Also pictured here is how I access the contents of the drawers: I remove the drawer and place it on top of the cabinet while working on a project; I try to keep the drawers organized so I only need to access one drawer at a time for a specific project.
Improving the Drawer Slides
My initial design had very tight tolerances in width because of the original drawer slide design, so there was very little room for the ties I was using as replacement drawer hangers. Also, using two brackets is fine for a static drawer, however lining up the drawer with the rear tie was very difficult.
I initially attempted to use longer ties to alleviate the issue of hitting the rear of the drawer on the second set of ties. While successful, this solution wasn't long enough for the drawers to balance correctly and the drawers were still tight.
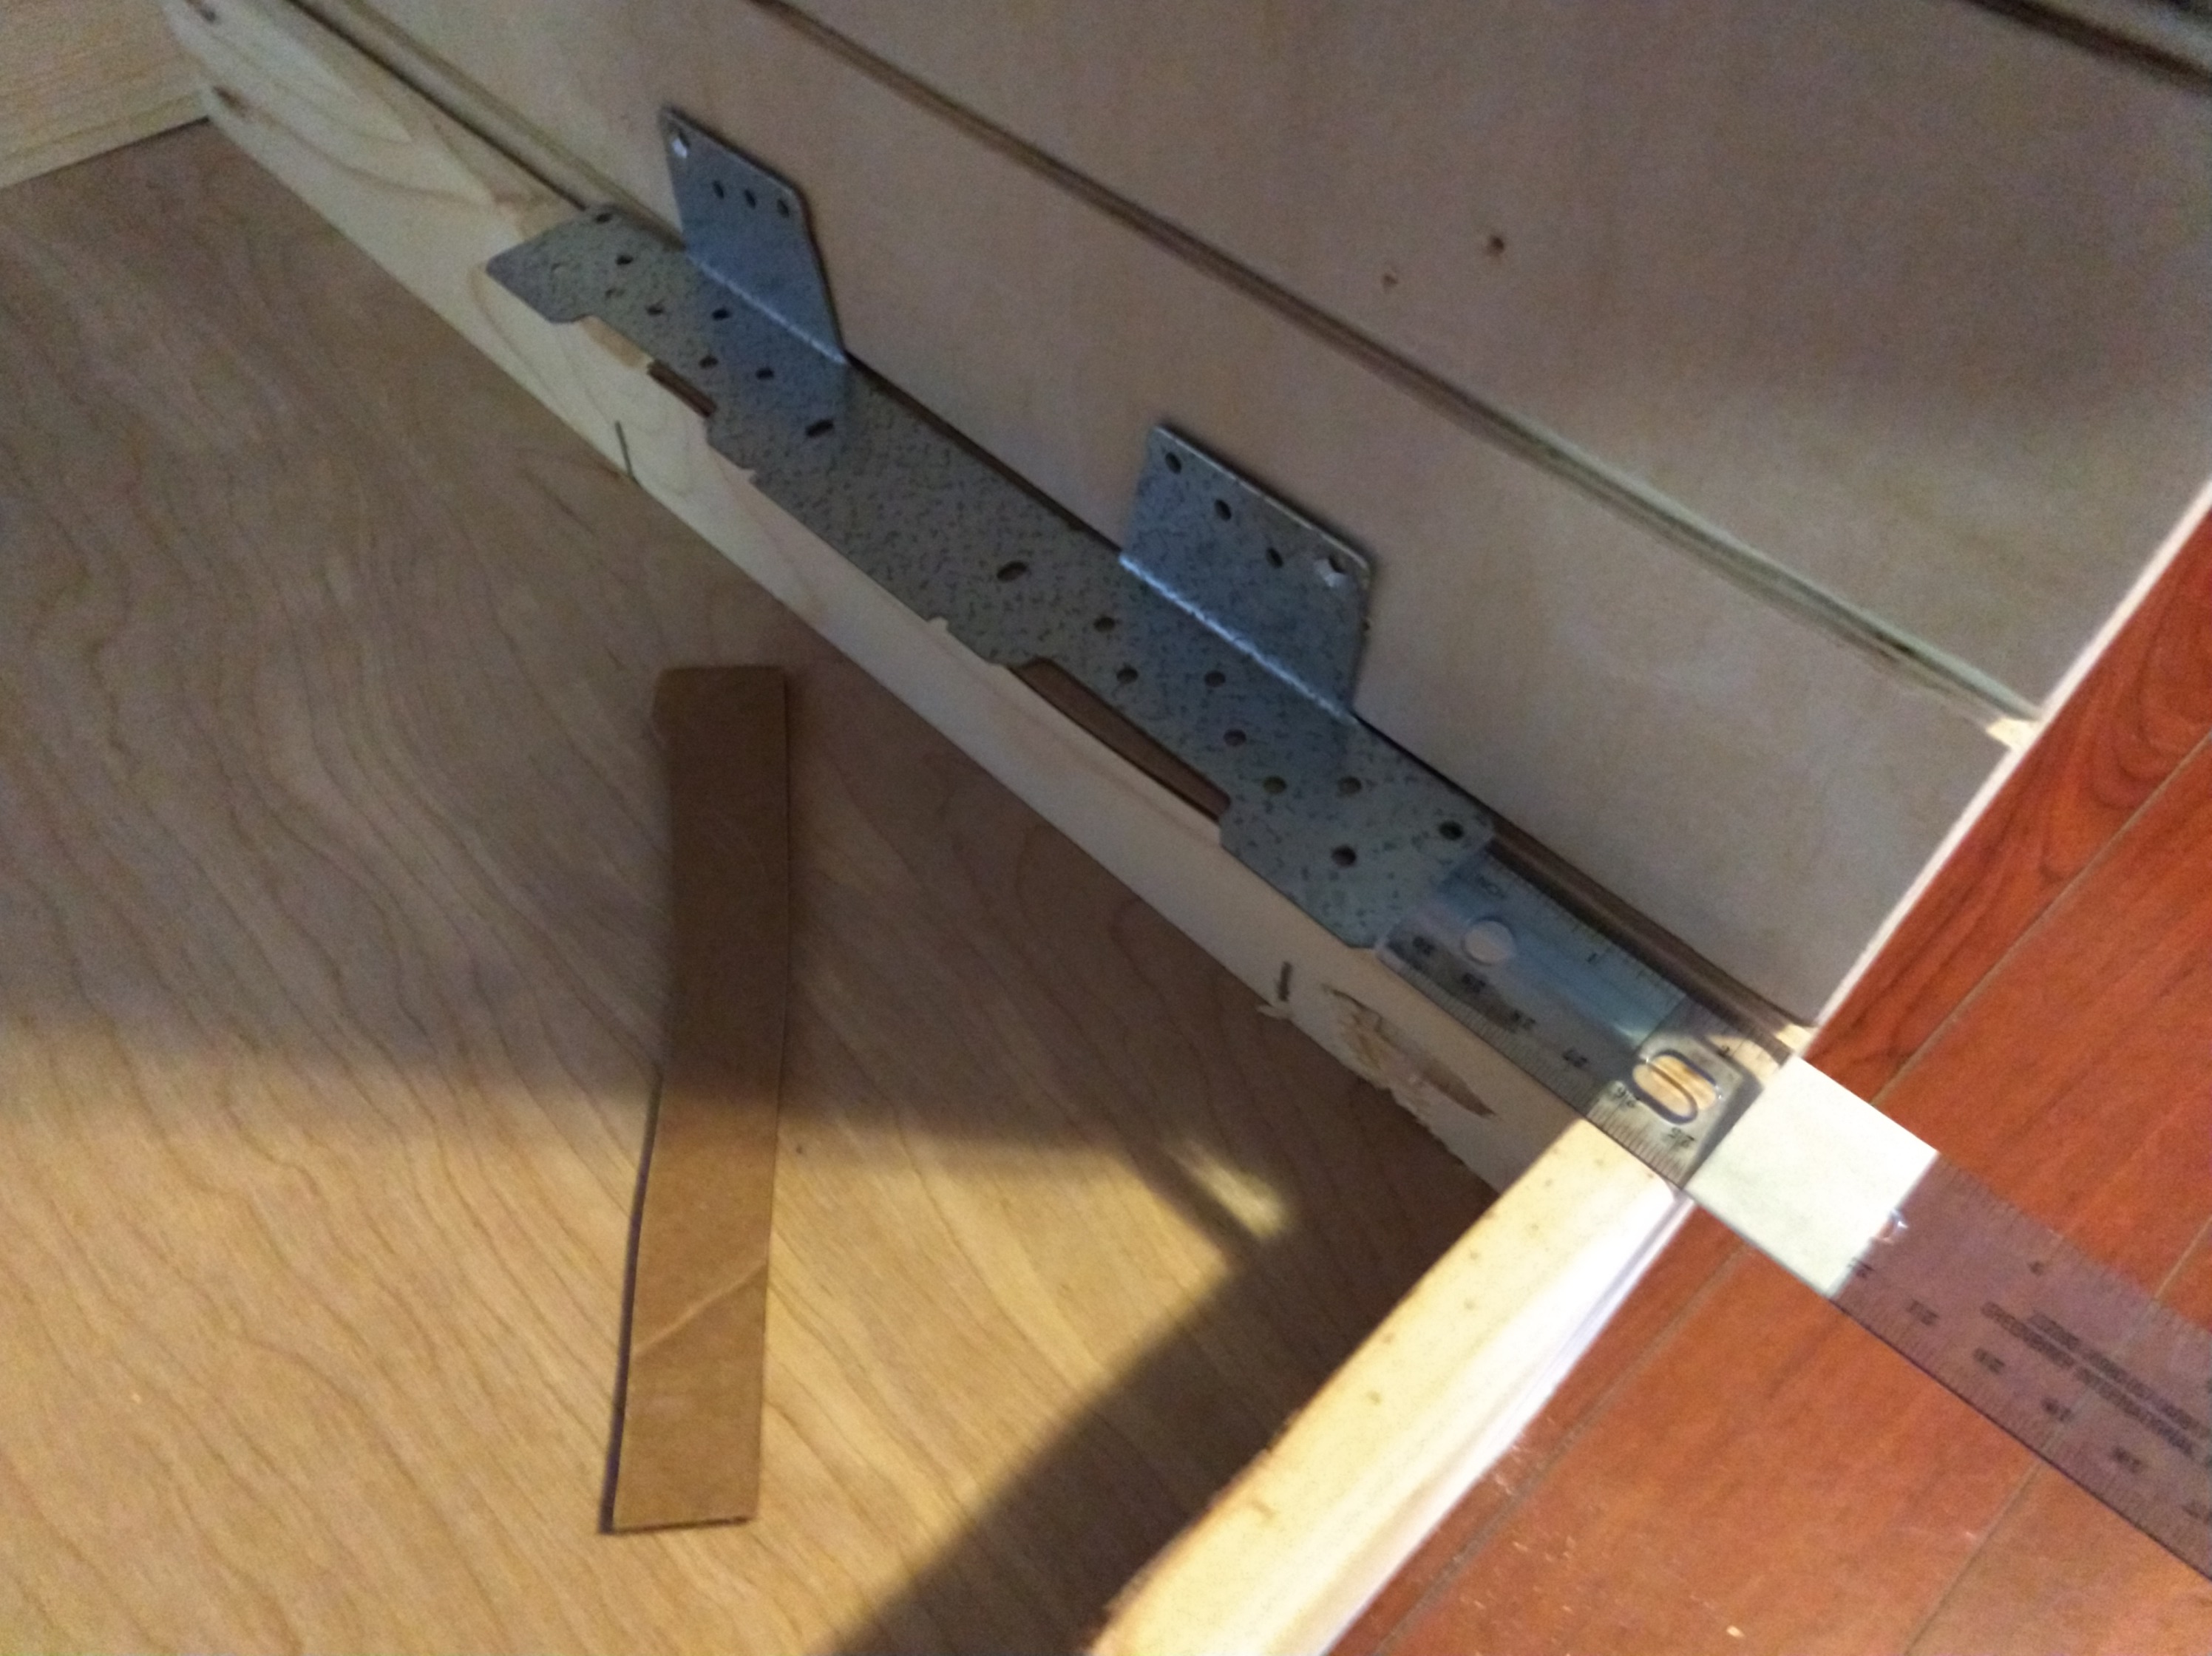
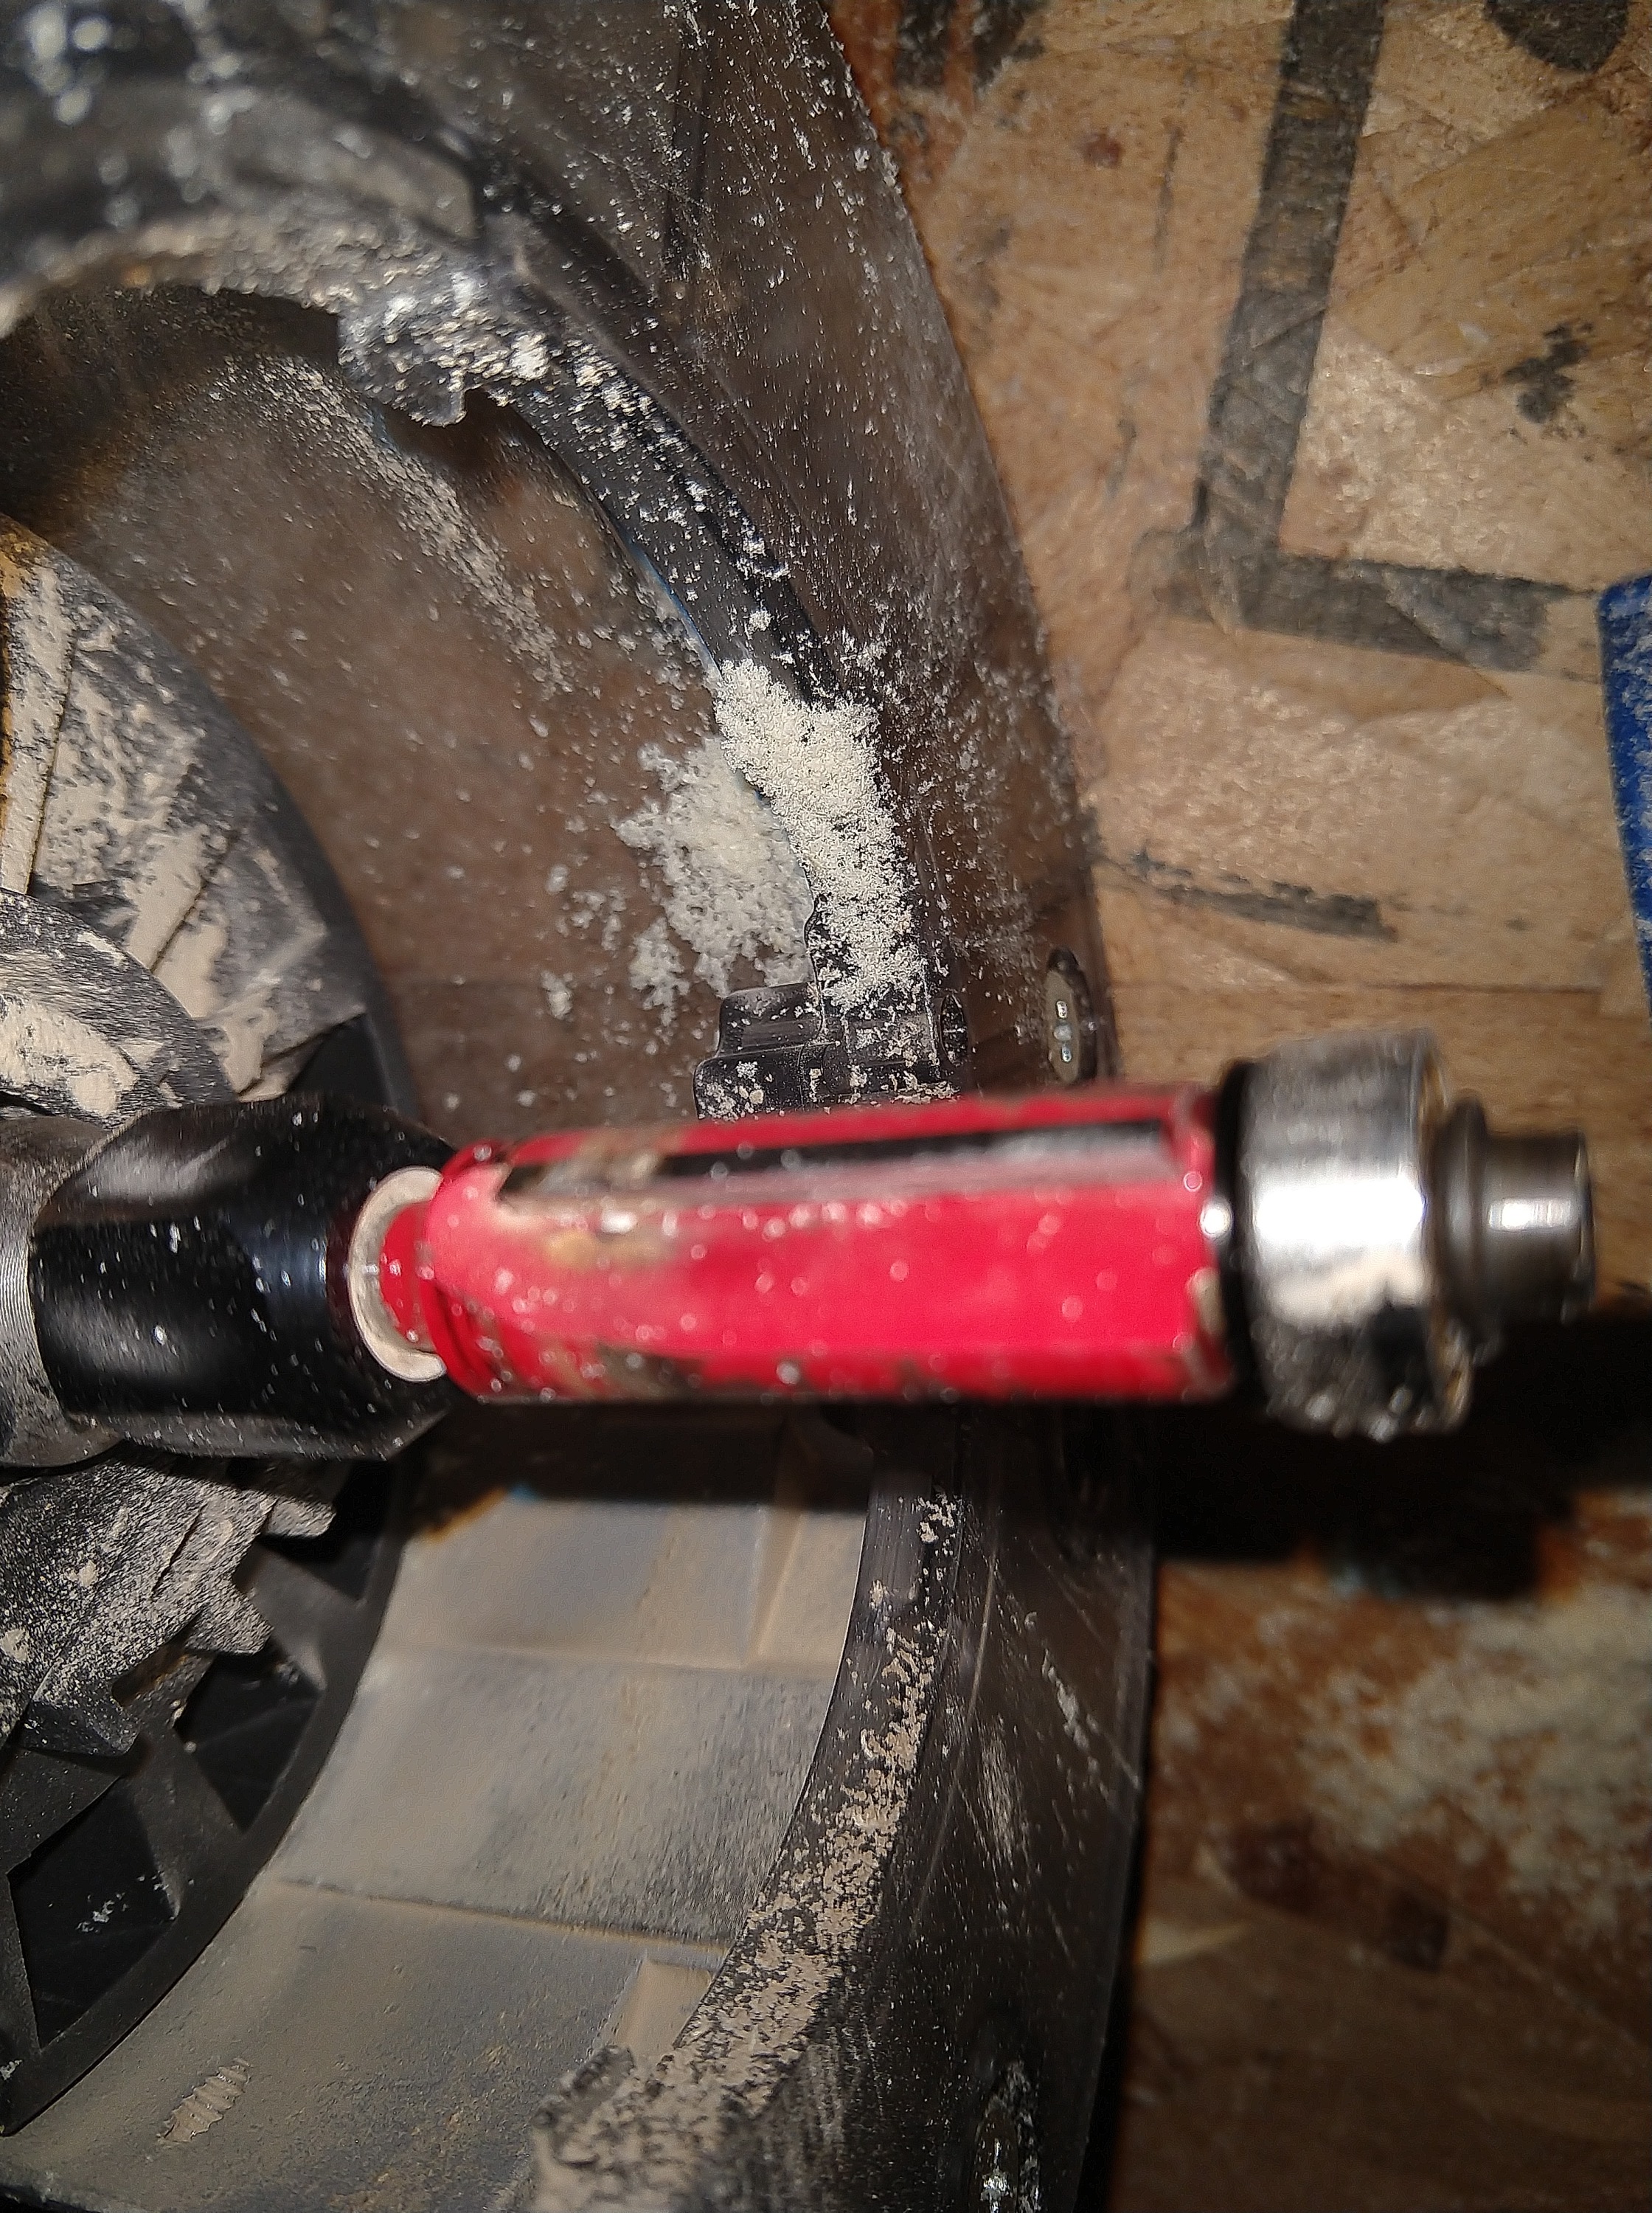
After attempting to use the drawer slides above, I realized the cabinet didn't have the clearance room to anchor the ties between the drawer side and the edge of the cabinet. I then opted for a third and final retrofit of the drawer design using 1/2" angle aluminum. I was able to cut the aluminum to a reasonable length (16" gives 6 pieces per 96" length). I also mounted the aluminium to avoid any interference with the drawers (pictured below). The additional clearance forced me to remove two drawers, but the ease in accessing the contents is well worth it.
PICTURE HERE OF ALUMINUM INSTALLED
Final Iteration and Suggestions for Improvement
During the construction of this cabinet I found a used flat filing cabinet on Crags List. I now have both the commercially made steel cabinet inside my house along with my wooden cabinet in my garage. While the steel cabinet has real drawer slides allowing much faster searching of the contents, I prefer the dimensions of my personally made cabinet. The steel cabinet is much deeper and is difficult to locate without sticking out awkwardly.
PICTURE OF STEEL CABINET
Also, the deeper drawers of my wooden cabinet allows more to be stored in the drawers. By design the flat cabinets should not be storing tall items, but things like pencil organizers will fit in the wooden drawers but not in the steel drawers.
PICTURE OF PENCIL ORGANIZER
If I were to remake this cabinet there are some things I would reconsider or do differently.
- I struggled with the drawer slides. Pre-built drawer slides add significant cost to the project (the drawers are relatively deep and there are many of them), however the speed of access with roller slides would help me grab something quickly.
- The design of hanging drawers I settled on is reasonable and I would consider using it again for this design. I like being able to quickly remove the drawer entirely. However, I would redesign the spacing of the drawers to better accommodate these aluminum rails.
- My original design called for ten drawers, which was too tight to use well. With some consideration nine drawers probably could fit, however eight drawers also allow perfect utilization of the materials purchased. The materials list I call out above reflects eight drawers.
- The aluminum rails add 1/2 - 3/4 inches above each drawer which is dead space. This is great for the drawer contents; it provides some extra capacity to each drawer. However, I would want to increase the height of the front of the drawers to cover this new gap. This would take more lumber, however the pine boards are relatively cheap.
- The holes I used for the drawer handles work, however I may switch to a traditional protruding handle instead. The holes are cheap and flush with the front of the cabinet, however the finish is rough and you cannot support the drawer with the half-hole. When removing the drawer you must reposition your grip on the drawer to support it from the bottom. A handle or perhaps a routered slot would allow the handle to be used to lift the drawer.
- The cabinet could use some paint. While the unfinished pine looks good, I'm trying to use self-adhesive labels on the drawers to stay organized. These stickers don't adhere well to the sanded pine.
Overall, I'm satisfied with the build and use the cabinet regularly in my garage. If I didn't need to fuss with cutting back the drawer sides or rework the drawer slides, it would have fit into a weekend easily.
PICTURE OF FINISHED PRODUCT